The short version: small kitchen design is mostly about choosing the right layout for your room and then protecting the space between things. Keep the main work aisle about 42 inches wide for one cook (48 inches for two), give the sink, range and fridge each a stretch of landing counter, group items into work zones, and plan three layers of light. Get those right and even a tiny kitchen works smoothly.
This guide walks through the principles in the order you'd actually plan them. If you're after quick upgrades rather than a redesign, jump to our list of small kitchen ideas.
Step 1: Measure the Room First
Before choosing cabinets or colors, draw the room to scale (graph paper or a free planner app works). Mark:
- Wall lengths and ceiling height
- Windows and doors, including which way doors swing
- Plumbing, gas line, vents and electrical outlets
- Radiators, bulkheads and anything you can't move
Moving plumbing and gas is where small kitchen budgets disappear, so note those locations carefully. A layout that keeps the sink where it is usually saves a lot of money; see our guide to a small kitchen remodel on a budget.
Step 2: Pick a Layout That Fits
Most small kitchens use one of four layouts. The right one depends mainly on the room's width.
| Layout | Best for | Rough minimum room size | Pros | Watch out for |
|---|---|---|---|---|
| One-wall | Studios, open plans | About 8–10 ft of wall | Cheapest, opens up the room | Little counter space; add an island or cart |
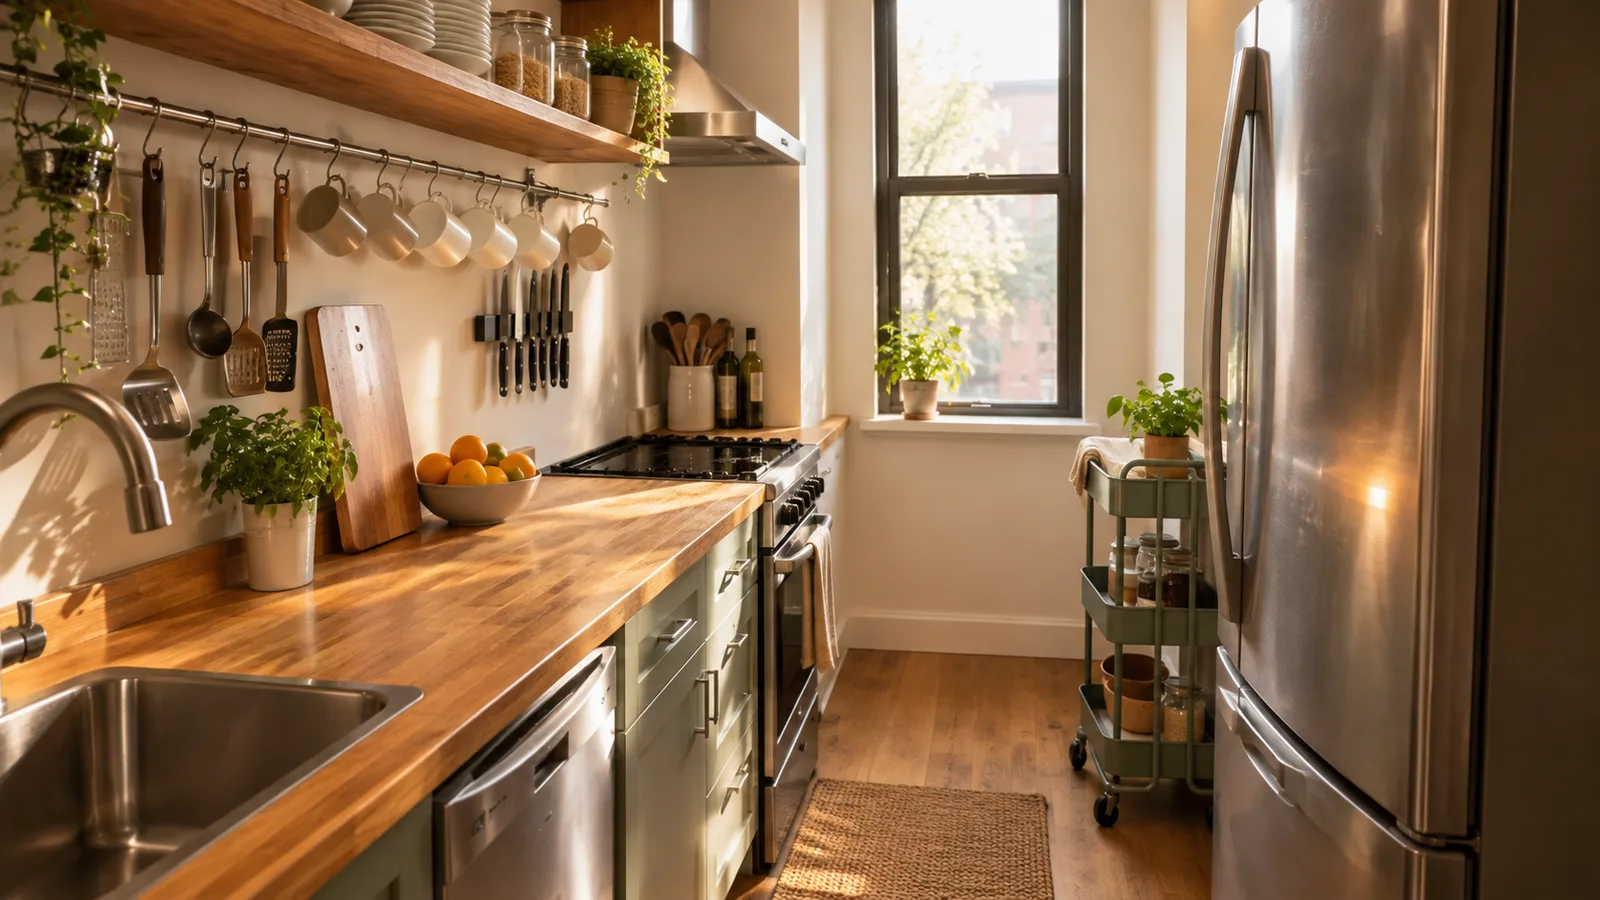
| Galley | Narrow rooms | About 7.5–8 ft wide (two 24 in runs + aisle) | Very efficient for one cook | Feels tight if the aisle is under 36 in |
| L-shaped | Small square rooms, corners | About 8 × 8 ft | Open, room for a small table | Corner cabinet storage is awkward |
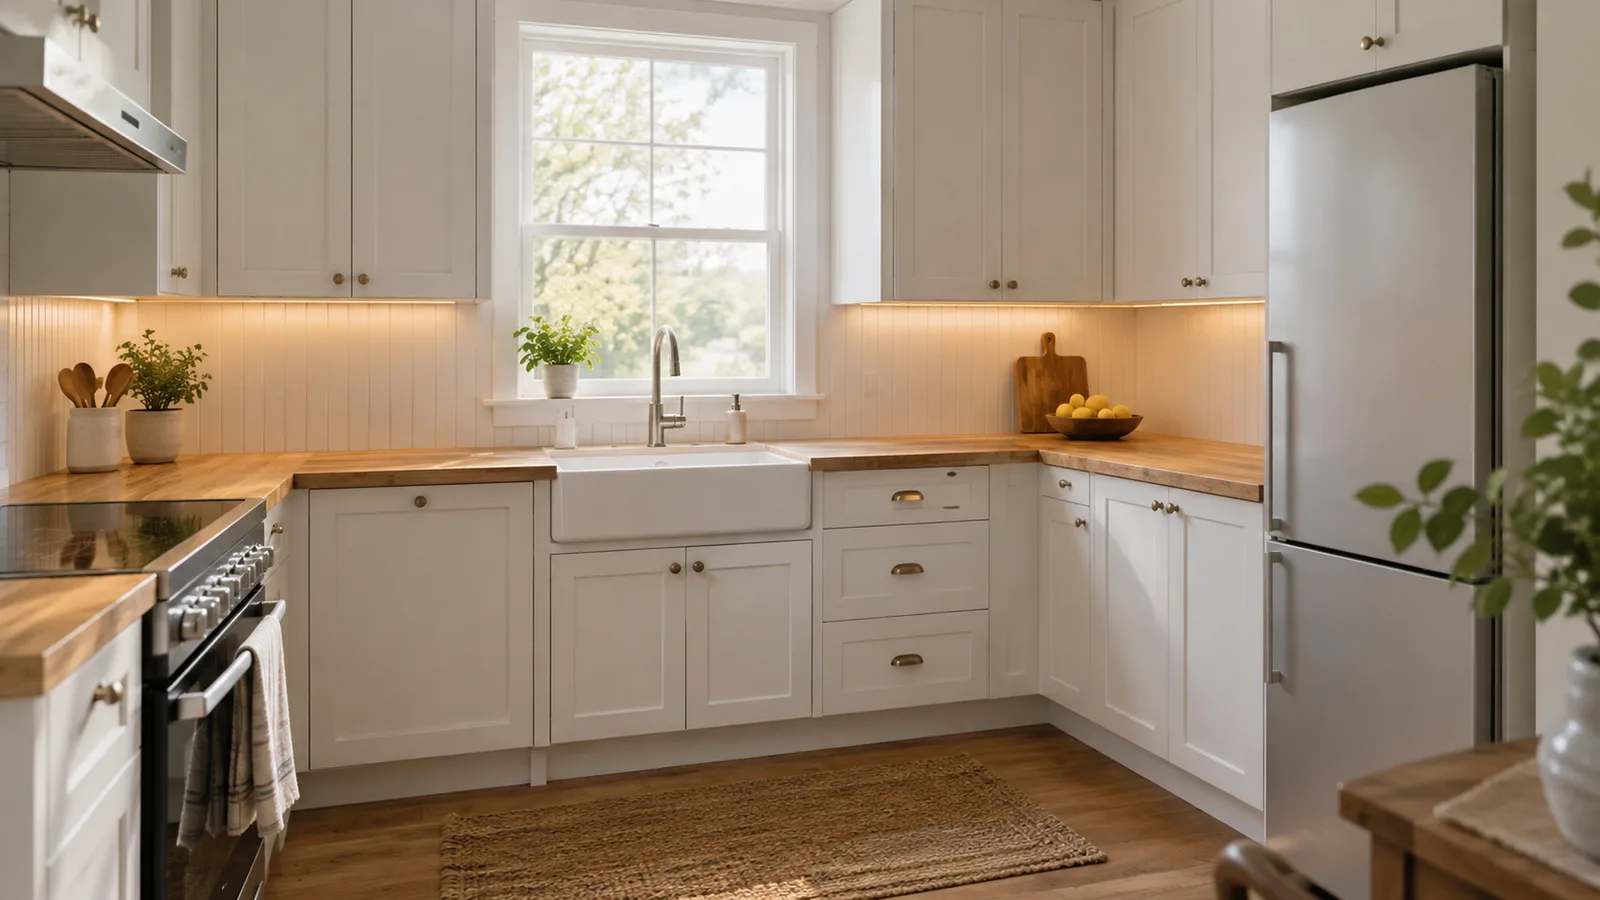
| U-shaped | Enclosed small kitchens | About 8 × 8 ft or larger | Most counter and storage | Can feel boxed in; keep uppers light |
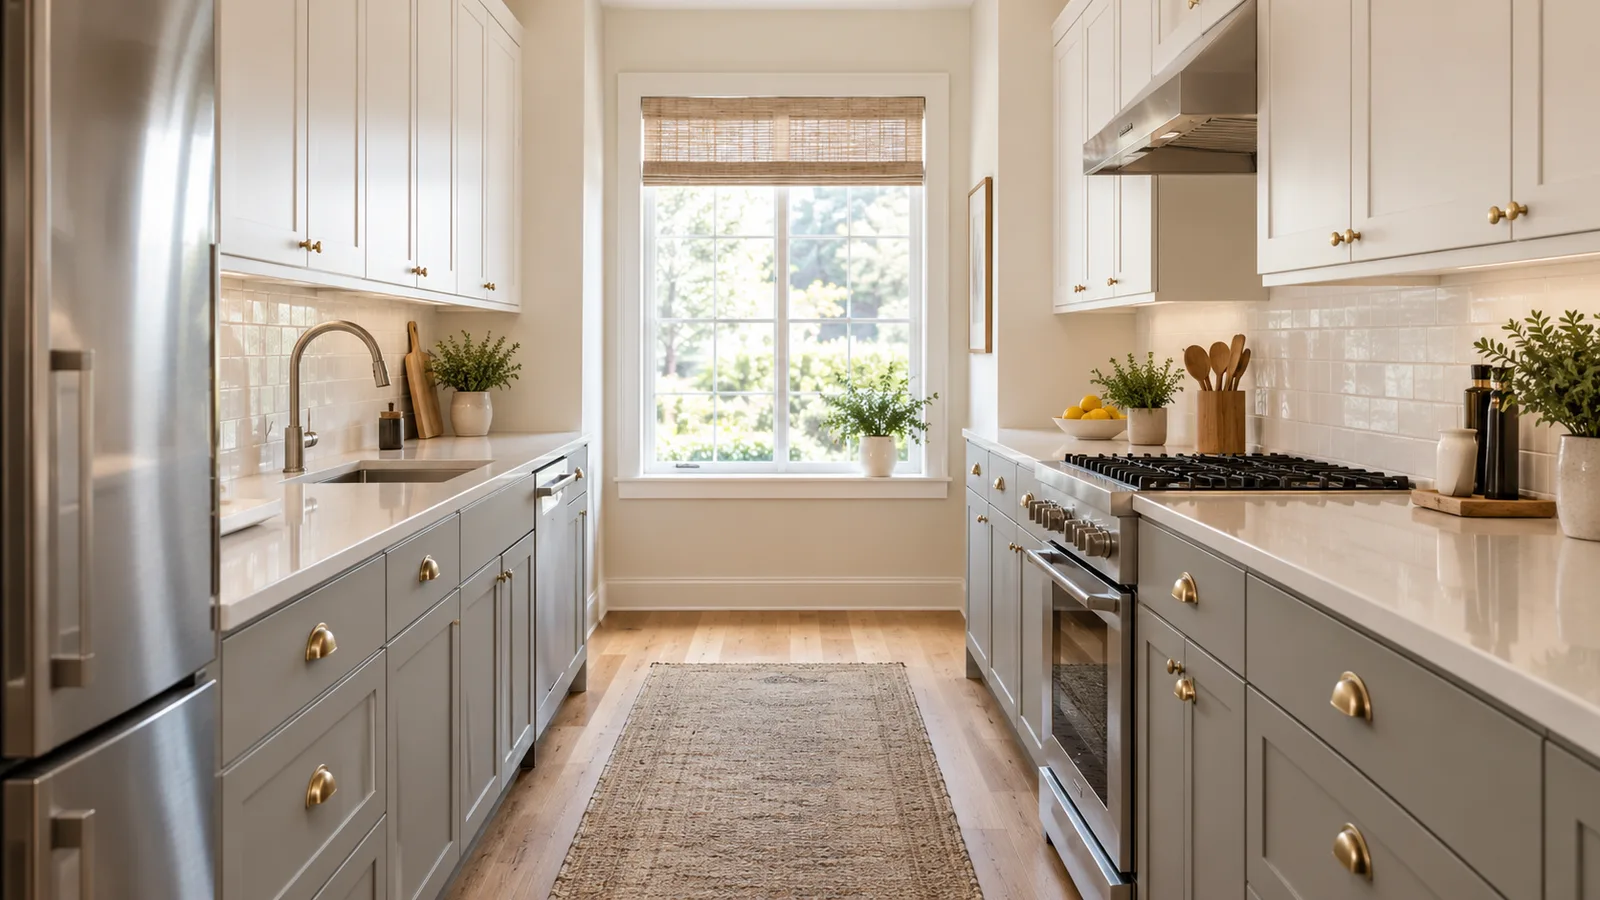
Room sizes above are rough starting points. Standard base cabinets are about 24 inches deep, so a galley needs roughly 48 inches of cabinet depth plus the aisle. Measure your own room before deciding.
Step 3: Get the Clearances Right
These widely used guidelines (based on National Kitchen & Bath Association recommendations) make the biggest difference to how a kitchen feels:
| Space | Typical guideline |
|---|---|
| Work aisle, one cook | About 42 in |
| Work aisle, two cooks | About 48 in |
| Walkway that isn't a work aisle | At least 36 in |
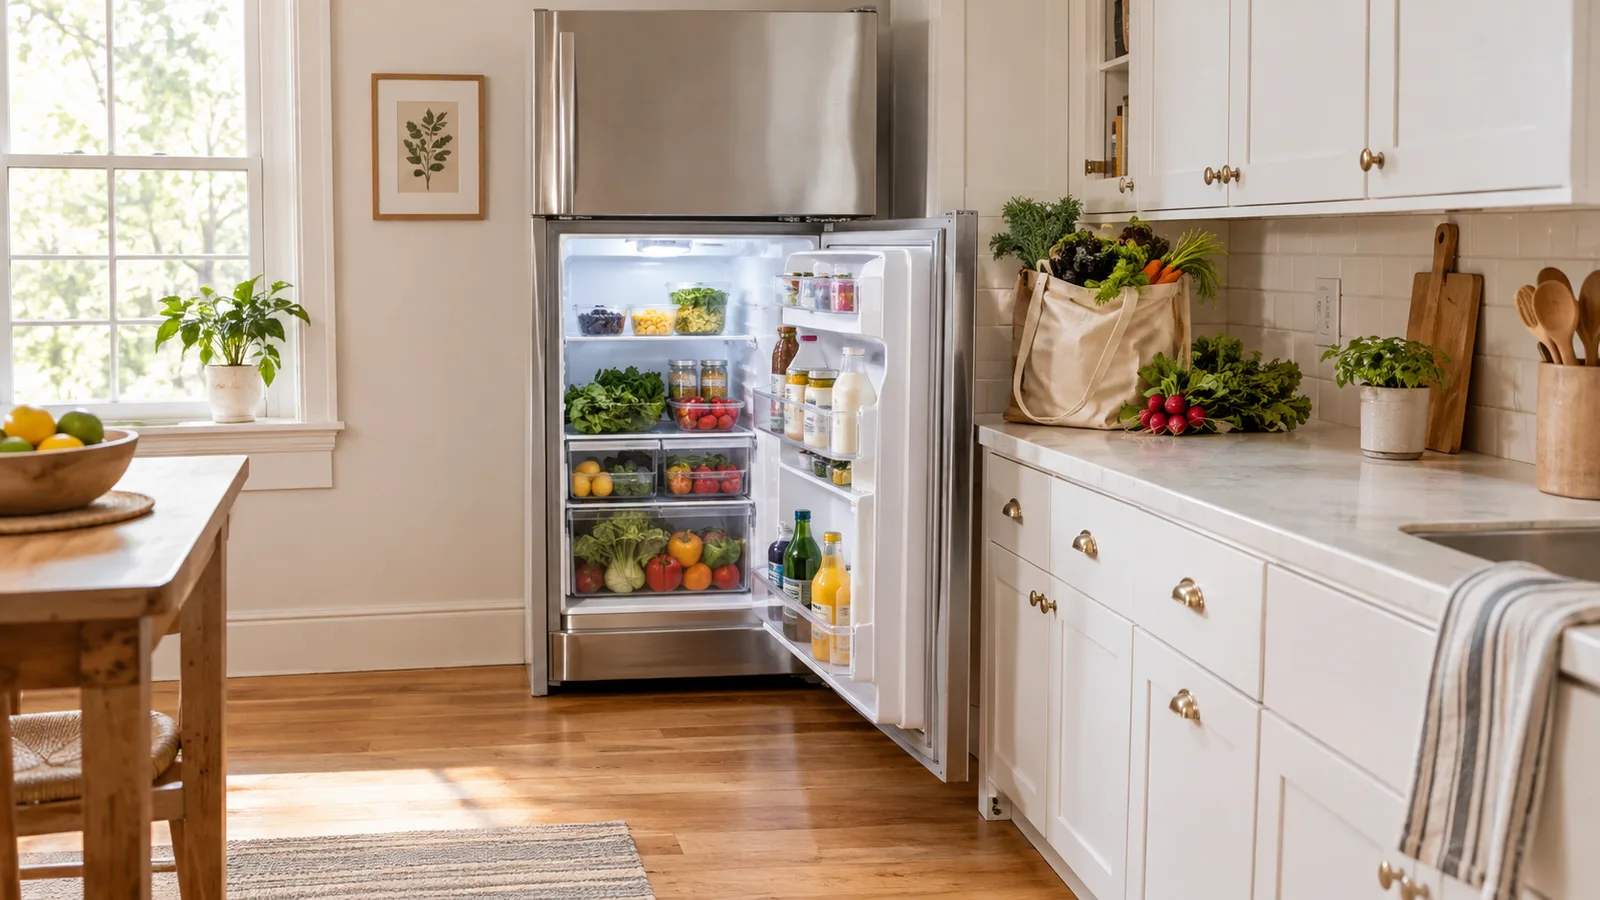
| Landing counter beside the fridge | About 15 in on the handle side |
| Counter beside the range | About 12 in on one side, 15 in on the other |
| Counter beside the sink | About 18–24 in on each side, if you can |
| Upper cabinets above counter | About 18 in |
In a very small kitchen you may not hit every number. Prioritize the aisle and the counter next to the range, because hot pans need somewhere to land.
Step 4: Think in Zones, Not Triangles
The classic work triangle connects sink, range and fridge, with each side roughly 4 to 9 feet. It's still a useful check in an L- or U-shaped kitchen. But in a small kitchen it's often more practical to plan zones:
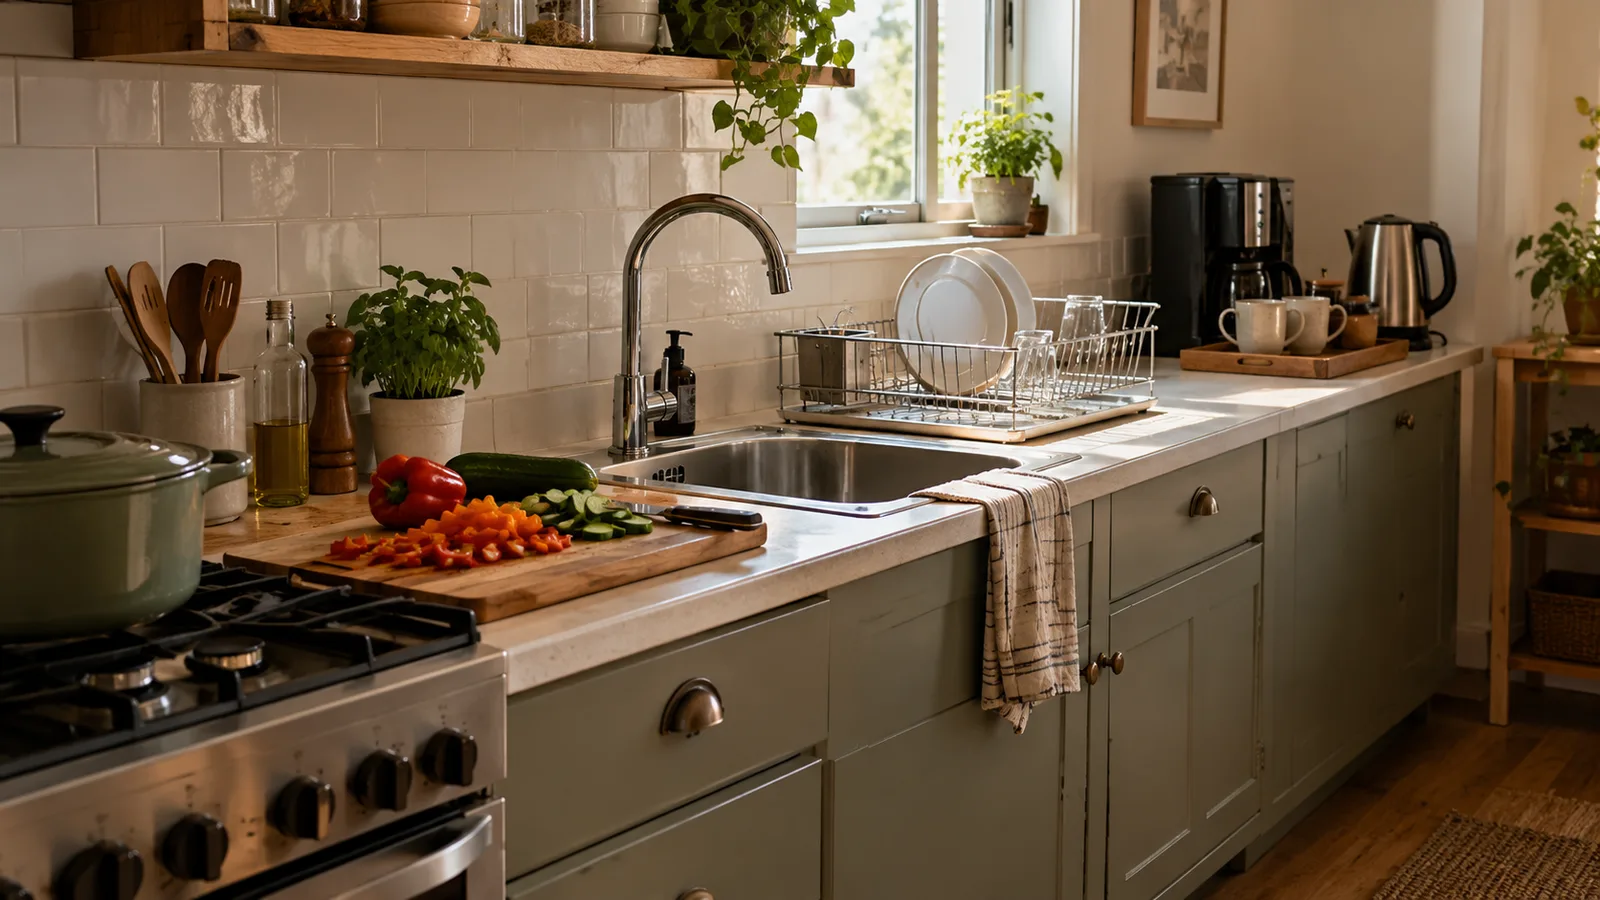
- Prep zone: the longest stretch of counter, ideally between sink and range. Knives, cutting boards and mixing bowls live here.
- Cooking zone: the range, with pots, pans, oils and utensils within one step.
- Cleaning zone: sink, dishwasher, trash and recycling, with everyday dishes stored nearby so unloading is quick.
- Storage zone: fridge and pantry items together near the kitchen entrance.
- Bonus zone: a coffee or breakfast station at the end of a run keeps morning traffic out of the cook's way.
Step 5: Use the Full Height of the Room
Small kitchens gain the most storage by going up:
- Run upper cabinets to the ceiling, or add a row of smaller stacked cabinets on top for seldom-used items.
- Choose drawers instead of doors for lower cabinets; you see everything at once and lose less space at the back.
- Use a shallow pantry (12 inches deep) on any spare wall.
- Hang a rail with hooks for utensils so drawers stay free for bulky items.
Step 6: Choose Appliances That Fit the Space
Appliance sizes drive the whole plan, so pick them early:
- 24-inch ranges and dishwashers free up about 6 inches of counter each compared with standard 30-inch and 24-inch-plus models.
- Counter-depth refrigerators don't stick out into the aisle.
- An over-the-range microwave saves counter space if you don't want a range hood. If you cook a lot, a vented hood is the better choice for air quality.
Always check the appliance's installation specs for required clearances before ordering cabinets.
Step 7: Layer the Lighting
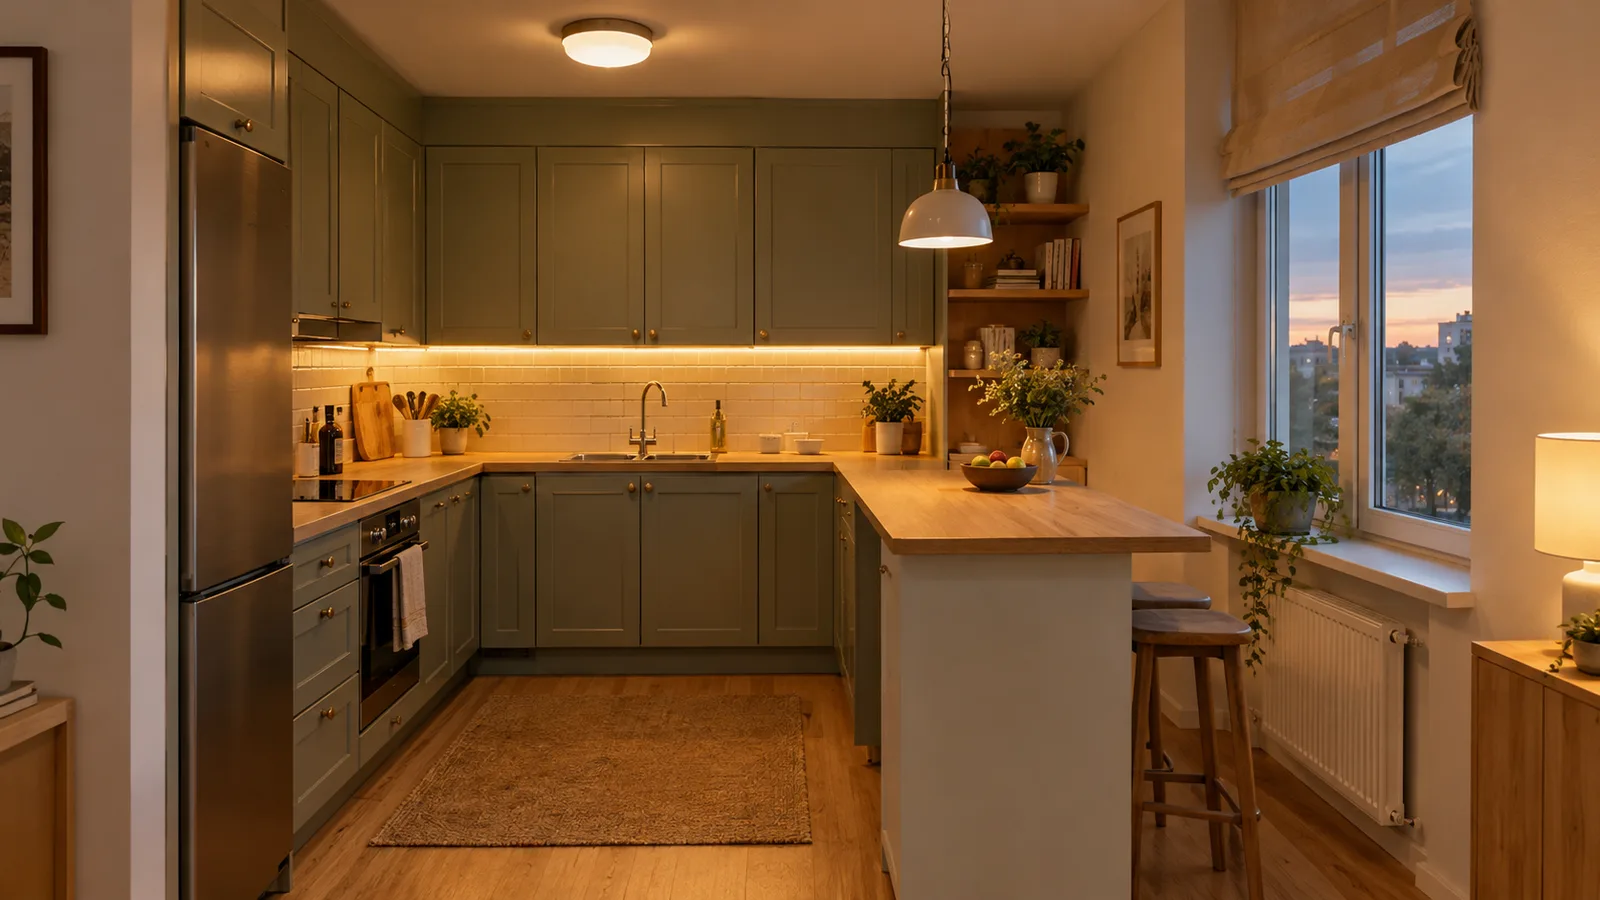
One ceiling light casts your own shadow onto the counter. Plan three layers:
- Ambient: a flush mount or a few recessed lights for general light.
- Task: LED strips or pucks under the upper cabinets, the single best upgrade for a small kitchen.
- Accent: a small pendant over a peninsula or sink, or a lamp on open shelving.
Warm white bulbs around 2700–3000K feel cozy, and a high CRI (90 or above) makes food and finishes look natural. If your kitchen gets little daylight, our guide to dark small kitchen ideas goes deeper.
Step 8: Finish With Color and Materials
Light, low-contrast colors make a small kitchen feel bigger, but they're not a rule. What matters more is keeping the palette simple: one main cabinet color, one counter material and one backsplash. For style inspiration, see our small farmhouse kitchen ideas.
Common Small Kitchen Design Mistakes
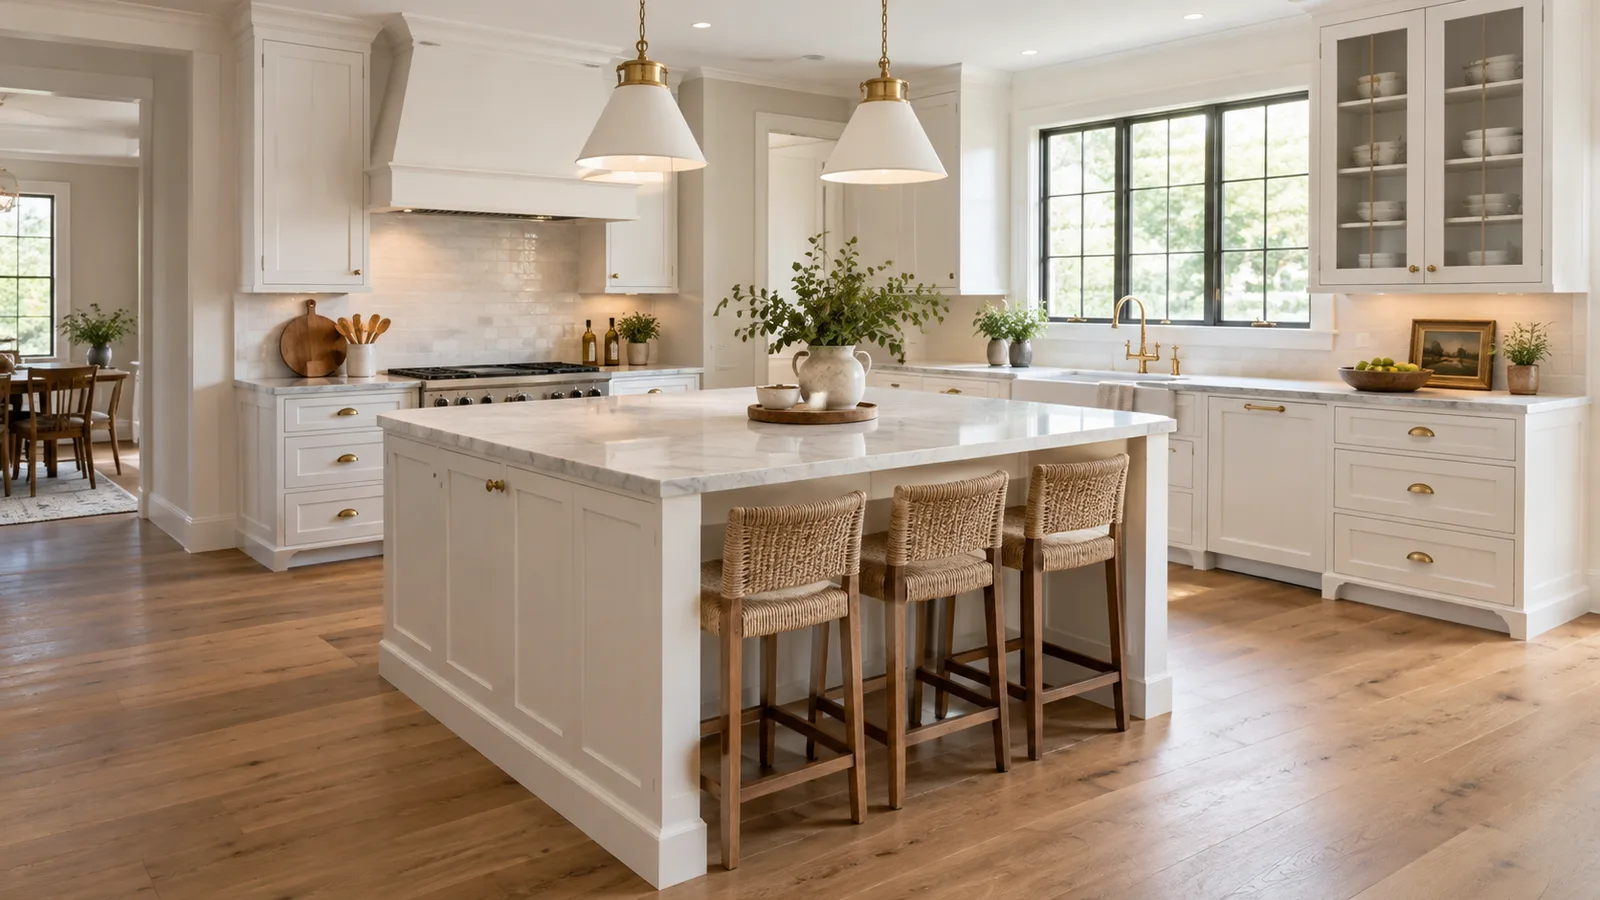
- Squeezing in an island that doesn't fit. If the aisle around it drops below about 36 inches, a rolling cart or peninsula usually works better.
- Blocking the window with upper cabinets. Natural light is worth more than one extra cabinet in a small room.
- Forgetting door swings. Check that the fridge, dishwasher and oven doors can open fully without hitting each other or a person standing at the sink.
- No landing space beside the fridge. You'll be juggling groceries on the floor.
- Too few outlets. Plan outlets along every counter run, including the island or peninsula, according to local code.
- Choosing finishes before measuring. Fall in love with a layout first; tile and paint are easy to change later.
Planning Order Checklist
- Measure and draw the room.
- Decide what stays (plumbing, windows, walls).
- Choose the layout.
- Pick appliance sizes.
- Plan zones and cabinet types.
- Plan lighting and outlets.
- Choose finishes last.
Tools That Help You Plan
Stanley
25 ft Tape Measure
Every layout decision starts with accurate wall, window and door measurements.
- ✓Accurate room measurements
- ✓Easy-read blade
- ✓Locks in place
Bosch
Laser Distance Measure
Measures wall lengths on your own, quickly, when you're drawing the room to scale.
- ✓Measure walls solo
- ✓Fast, accurate readings
- ✓Pocket size
GE Enbrighten
Linkable LED Under-Cabinet Lights
Task light under the uppers is the single best lighting upgrade for a small kitchen.
- ✓Lights the countertop
- ✓Dimmable options
- ✓Plug-in or hardwired
Graph Paper Notebook
Drawing the room to scale makes aisle widths and cabinet runs easy to check.
- ✓Draw the room to scale
- ✓Plan cabinet runs
- ✓Easy to revise
As an Amazon Associate, we earn from qualifying purchases.
The Bottom Line
Small kitchen design isn't about squeezing in more; it's about planning the space between things. Choose a layout that fits the room's width, protect a 42 to 48 inch work aisle, give each appliance landing space, organize by zones, build storage up to the ceiling, and layer your lighting. Settle those decisions first, and the finishes will be the easy, fun part.