Small Kitchen Remodel Ideas Under $500 That Look Expensive
You don’t need to tear out cabinets or spend $20,000 to give your kitchen a jaw-dropping makeover — you just need the right strategy and a $500 budget. A thoughtful small kitchen remodel on a budget can completely transform how your space looks and feels, using clever DIY upgrades that fool every guest into thinking you hired a designer.
Key Takeaways
- A full kitchen transformation is achievable for under $500 using strategic, high-impact DIY upgrades.
- Swapping cabinet hardware is one of the fastest, cheapest ways to elevate a dated kitchen instantly.
- Peel-and-stick backsplash tiles deliver a designer look without professional installation or major expense.
- Paint is your most powerful tool — cabinets, walls, and even countertops can all be refreshed affordably.
- Lighting upgrades and open shelving swaps create a high-end feel that punches well above their price tag.
1. The Hardware Swap: Biggest Bang for Your Buck
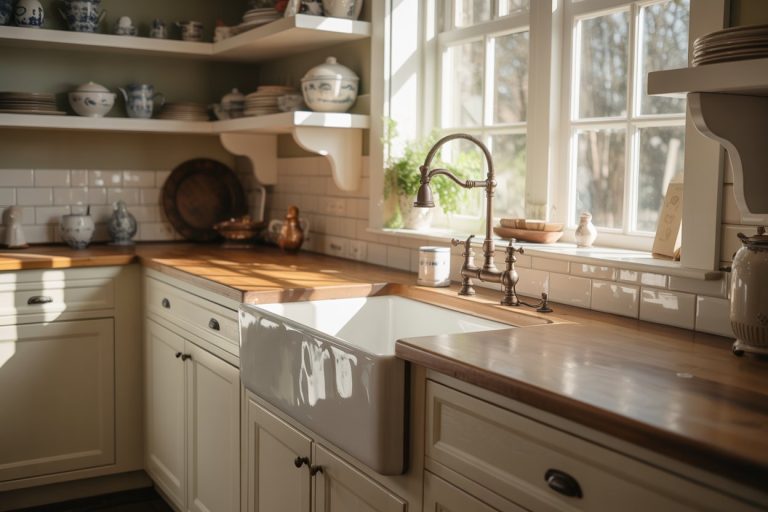
If you could only do one thing to upgrade your kitchen, swapping out the hardware would be it. Old brass pulls and basic plastic knobs are the first thing visitors notice — even if they don’t consciously register it. Replacing them with brushed brass, matte black, or satin nickel hardware instantly signals quality and intentional design.
The math is simple: a typical small kitchen has 10–20 cabinet doors and drawers. At $2–$5 per knob or pull from budget-friendly retailers like Amazon, IKEA, or Home Depot, you’re looking at a total spend of $30–$100 for hardware that makes your kitchen look like it was professionally styled.
Pro tip: Go for bar pulls instead of knobs on drawers — they look more modern and streamlined. Stick with one metal finish throughout for a cohesive, intentional feel. If your existing holes don’t line up with new pulls, opt for single-hole knobs or use wood filler and touch-up paint to fill old holes before drilling new ones.
Common mistake: Mixing metals randomly. Intentional mixed metals (like pairing matte black with warm brass accents) can look gorgeous, but random mixing looks chaotic. Choose one dominant finish and let it lead.
2. Peel-and-Stick Backsplash: Designer Look, DIY Price
A backsplash is the jewelry of a kitchen — it draws the eye, sets the tone, and defines the style. The good news? You don’t need mortar, grout, or a tile contractor to get one that looks absolutely stunning. Peel-and-stick backsplash tiles have come a long way, and today’s options are so realistic that most people genuinely cannot tell the difference at a glance.
Our detailed peel-and-stick kitchen backsplash review breaks down exactly which materials hold up best and which ones to avoid — it’s required reading before you buy. For a standard kitchen backsplash area of 30 square feet, you’re typically spending $50–$150 on quality peel-and-stick tiles, making it one of the most affordable upgrades on this list.
Popular styles include subway tile, Moroccan fish scale, marble hexagon, and brick patterns. If you love the look of subway tile with white cabinets, check out our roundup of kitchen backsplash ideas with white cabinets for serious design inspiration before you commit to a pattern.
Pro tip: Clean your wall thoroughly with rubbing alcohol before applying tiles — this dramatically improves adhesion. Use a straight edge and level to keep your lines true, and work from the center outward for balanced results. Press tiles firmly using a credit card to eliminate air bubbles.
Common mistake: Skipping the wall prep. Any grease or moisture will cause tiles to peel within weeks. Take the extra 20 minutes to clean and dry your surface properly.
3. Paint Your Cabinets Without Losing Your Mind
Cabinet painting is the most transformative project in a budget kitchen remodel — and also the one that requires the most patience. Done well, painted cabinets look absolutely indistinguishable from brand-new ones. Done poorly, they chip, streak, and peel within months. The difference is almost entirely in the prep work and the products you use.
For a small kitchen, you’ll spend roughly $80–$150 on paint, primer, and supplies. That’s a fraction of the $1,000–$5,000 it would cost to have them professionally done or replaced entirely. According to Consumer Reports, kitchen painting is consistently rated one of the highest ROI home improvement projects homeowners can tackle themselves.
Start by removing all cabinet doors and hardware. Sand every surface lightly with 120-grit sandpaper to scuff the finish so primer adheres. Use a bonding primer (not standard wall primer) and apply two coats. For paint, choose a cabinet-specific formula in an eggshell or semi-gloss finish — these are more durable and easier to clean than flat finishes.
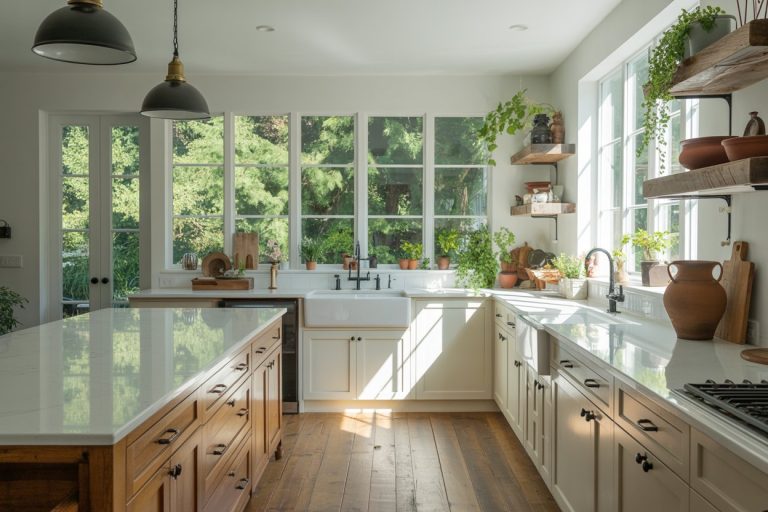
Color choices to consider: Navy blue and forest green are having a major design moment for lower cabinets with white uppers. Classic white and soft sage are timeless. Pure white on all cabinets can make a small kitchen feel significantly larger and brighter.
Pro tip: Use a small foam roller for flat surfaces and a brush for edges and details. Don’t rush drying time between coats — 24 hours minimum — and lightly sand between coats with 220-grit paper for a glass-smooth finish.
4. Countertop Refresh Without Replacement
Countertop replacement is expensive — even laminate can run $800–$1,500 installed. But if your existing counters are structurally sound, there are clever ways to refresh them without spending anywhere near that.
Option 1: Countertop paint kits. Products like Rust-Oleum’s Countertop Coating or Giani Granite paint kits ($50–$80) can completely transform old laminate counters into something that mimics stone or marble. They’re surprisingly durable when sealed properly and can last several years with reasonable care.
Option 2: Peel-and-stick countertop film. Available in marble, wood, and concrete finishes, these vinyl films run about $20–$40 for enough to cover a standard kitchen counter. They work best on flat surfaces and need to be applied slowly and carefully to avoid bubbles and wrinkles.
Option 3: Contact paper with polyurethane top coat. Apply contact paper in a marble or stone print, then seal it with two coats of polyurethane for added durability. This surprisingly effective trick can last 1–2 years before needing replacement.
Common mistake: Skipping the sealer. Unsealed countertop treatments scratch and stain within weeks. Always finish with a water-based polyurethane or the product’s recommended sealer.
5. Lighting Upgrades That Feel Luxurious
Lighting is one of the most underestimated elements of kitchen design. A dated fluorescent tube fixture overhead can make even a beautiful kitchen look institutional and tired. Replacing it — or adding to it — with warm, layered lighting changes the entire mood of the space.
Under-cabinet LED strip lights ($20–$40 for a roll) add both task lighting and an ambient glow that makes countertops look polished and intentional. These plug directly into an outlet and require no wiring knowledge. Pair them with warm-white LED bulbs (2700K–3000K) throughout your kitchen to replace any cool-blue fluorescent lighting.
If your budget allows, swap a dated ceiling fixture for a statement pendant light ($40–$80 on Amazon or at discount home stores). A single bold fixture over the sink or a peninsula creates a focal point and signals style in a way few other changes can match.
Pro tip: Add a dimmer switch ($15–$25) to any overhead light for instant ambiance control. This one small change makes a kitchen feel infinitely more sophisticated.
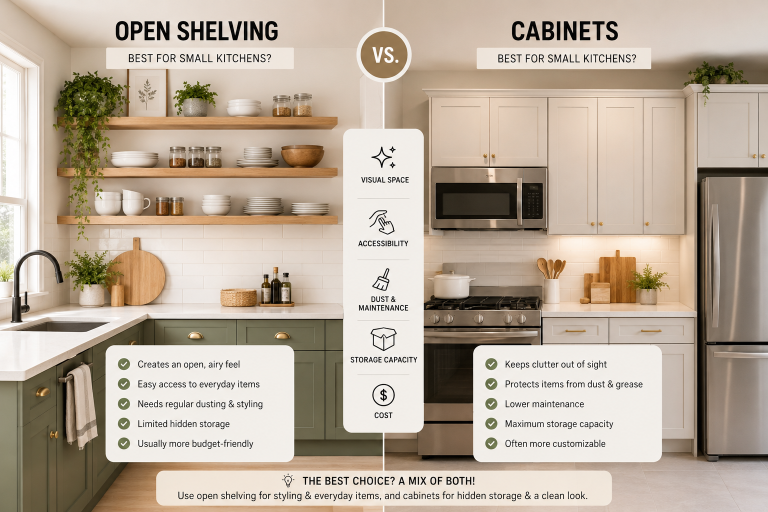
6. Open Shelving and Styling for an Expensive Look
Removing one or two upper cabinet doors and styling those shelves as open display areas is a popular designer trick that costs almost nothing. If you love the look of open shelving but want to explore more layout ideas first, our guide on small kitchen ideas that make tiny spaces feel huge has excellent inspiration for maximizing visual space in compact kitchens.
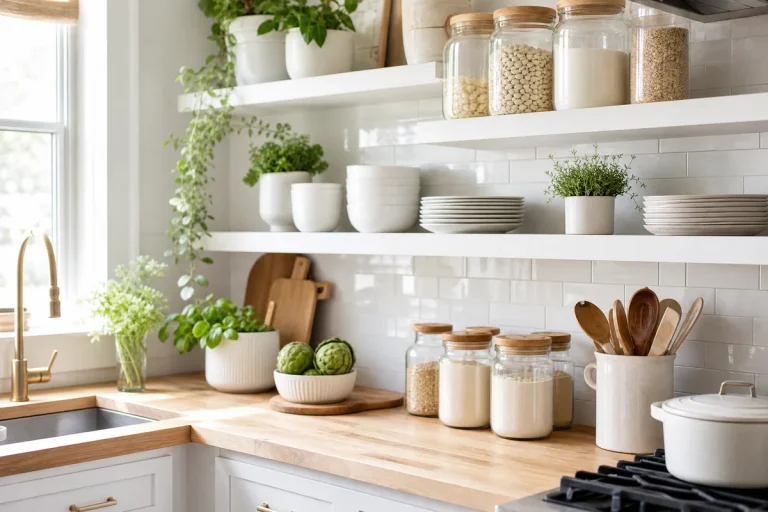
You don’t even need to remove cabinet doors permanently — simply unscrew them, store them in a closet, and style the open shelves with a curated mix of white dishes, a few plants, cookbooks, and attractive canisters. This creates depth and visual interest without spending a dollar on the shelves themselves.
If you want to add actual shelves to an empty wall, floating wood shelves from IKEA run $15–$30 each. Add a coat of stain or paint to match your kitchen’s aesthetic and you have a custom-looking built-in for under $100.
Styling rule of thumb: Group items in odd numbers (3 or 5), vary heights, and leave breathing room. A shelf that’s too packed looks cluttered; a shelf with intentional empty space looks curated and expensive.
7. Finishing Touches That Pull It All Together
The difference between a budget kitchen update and one that looks genuinely high-end often comes down to the finishing details. These small investments add up quickly in impact.
New faucet: A sleek pull-down faucet in matte black or brushed nickel can be found for $50–$80 and takes about an hour to install with basic plumbing knowledge. It’s the kitchen equivalent of a great pair of shoes — it ties the whole look together. If you’re curious about other functional kitchen upgrades worth the investment, read our piece on what no one tells you before a DIY kitchen remodel.
Caulk and grout refresh: Old, yellowed caulk around the sink and backsplash makes a kitchen look dingy regardless of how clean it actually is. Removing old caulk and applying a fresh bead of bright white caulk ($6–$10 per tube) takes 30 minutes and delivers a remarkably clean, fresh look.
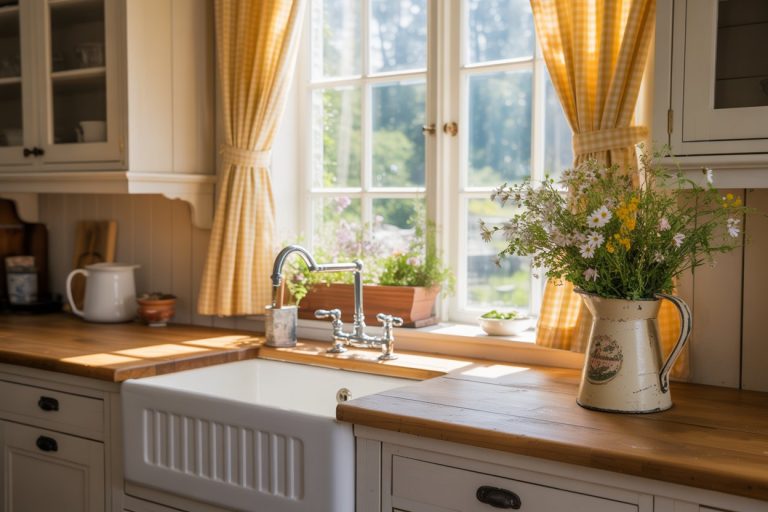
Window treatments: A simple Roman shade or bamboo blind in a natural tone adds warmth and texture. Budget options start around $20–$30 and make the kitchen feel finished rather than neglected.
Accessories and greenery: A potted herb garden on the windowsill, a wooden cutting board displayed upright, a ceramic utensil holder — these low-cost styling elements create the layered, lived-in look that interior designers charge thousands to achieve.
Frequently Asked Questions
Can I really remodel a kitchen for under $500?
Absolutely — with the right priorities. A full cabinet-and-appliance overhaul will always cost more, but a strategic small kitchen remodel on a budget focusing on hardware, paint, backsplash, and lighting can genuinely transform a dated kitchen for $300–$500. The key is spending where it makes the most visual impact and using DIY labor to keep costs down.
Is peel-and-stick backsplash a good long-term solution?
Quality peel-and-stick backsplash tiles can last 3–7 years with proper installation and care. They perform best in areas that aren’t directly exposed to heavy steam or constant moisture. They’re an excellent option for renters or anyone not ready to commit to a permanent tile installation. Always check that your surface is properly cleaned and primed for maximum adhesion.
What’s the hardest part of painting kitchen cabinets yourself?
The prep work is by far the most time-consuming and critical part. Sanding, cleaning, and priming properly makes the difference between a professional-looking finish and a paint job that chips within months. The actual painting itself is straightforward — it’s the patience required for drying time between coats that most DIYers underestimate.
How do I make a small kitchen look more expensive without spending much?
Focus on cohesion and cleanliness above everything else. Consistent hardware finishes, fresh caulk, clean grout, a single curated color palette, and good lighting all signal quality without requiring major investment. Decluttering is completely free and instantly makes any kitchen look more upscale and intentional.
Conclusion
A stunning kitchen doesn’t require a stunning budget. With the strategic upgrades outlined above — a hardware swap, peel-and-stick backsplash, freshly painted cabinets, smart lighting, and thoughtful finishing details — you can achieve a genuinely high-end look for under $500. The secret is focusing on the details that have the biggest visual impact and tackling each project with proper prep work and patience.
Start with just one upgrade this weekend. Swap the hardware, hang a new light fixture, or install a peel-and-stick backsplash. You’ll be amazed at how much one confident change motivates the next — and how quickly your kitchen transforms from tired to truly beautiful. Your dream kitchen is already within reach. It’s just waiting for you to start.