Peel and Stick Kitchen Backsplash: Worth It?
If you’ve been scrolling through renovation inspiration and landed on peel and stick kitchen backsplash tiles, you’re probably wondering one thing: are these actually as good as they look in the photos, or is this just another Pinterest illusion? After testing multiple brands, studying real customer results, and comparing them side-by-side with traditional tile, we’re giving you the honest breakdown you actually need before spending a single dollar.
Key Takeaways
- Peel and stick backsplashes can genuinely transform a kitchen in a few hours with zero professional help and minimal cost.
- Quality varies dramatically between brands — the wrong choice leads to peeling edges, bubbling, and a cheap appearance within months.
- They work best on smooth, clean, primed walls and are ideal for renters, temporary upgrades, or low-humidity zones.
- Top-performing brands like Aspect, Stickgoo, and Smart Tiles outperform budget options in adhesion and realism by a wide margin.
- For under $100, a peel and stick backsplash can deliver a look that rivals installations costing five to ten times more.
What Is a Peel and Stick Backsplash?
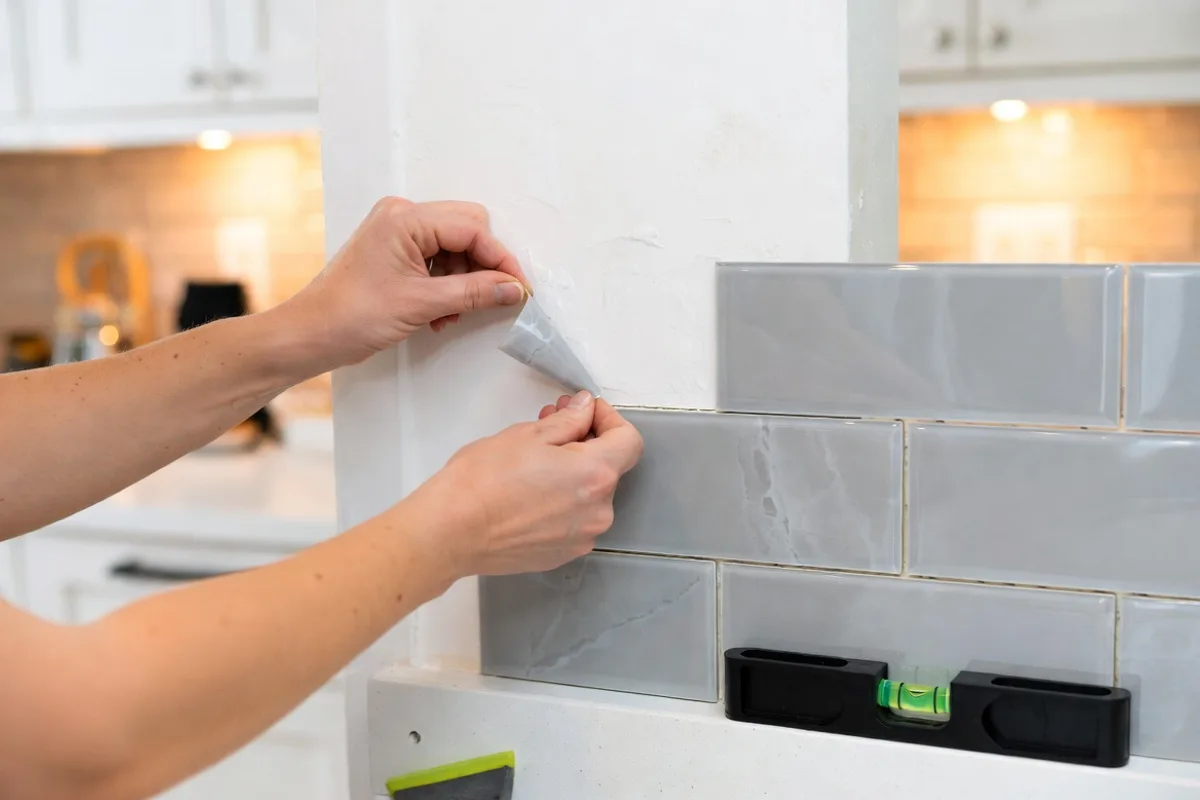
A peel and stick kitchen backsplash is exactly what it sounds like: a self-adhesive tile panel or sheet that you press directly onto your wall without grout, mortar, or special tools. These products come in a wide range of styles — from classic subway tile patterns and Moroccan fish scales to natural stone-look sheets and metallic mosaics. Most are made from PVC, vinyl, aluminum composite, or real stone veneer, and they range in thickness from about 1mm to 5mm depending on the material.
The concept has been around for over a decade, but the quality has improved significantly in recent years. Early versions had visible repeat patterns, cheap-looking surfaces, and adhesive that failed within months. Today’s premium options are nearly indistinguishable from real tile in photos and hold up impressively well in the right conditions. If you’re already exploring budget-friendly backsplash ideas, peel and stick deserves a serious spot on your shortlist.
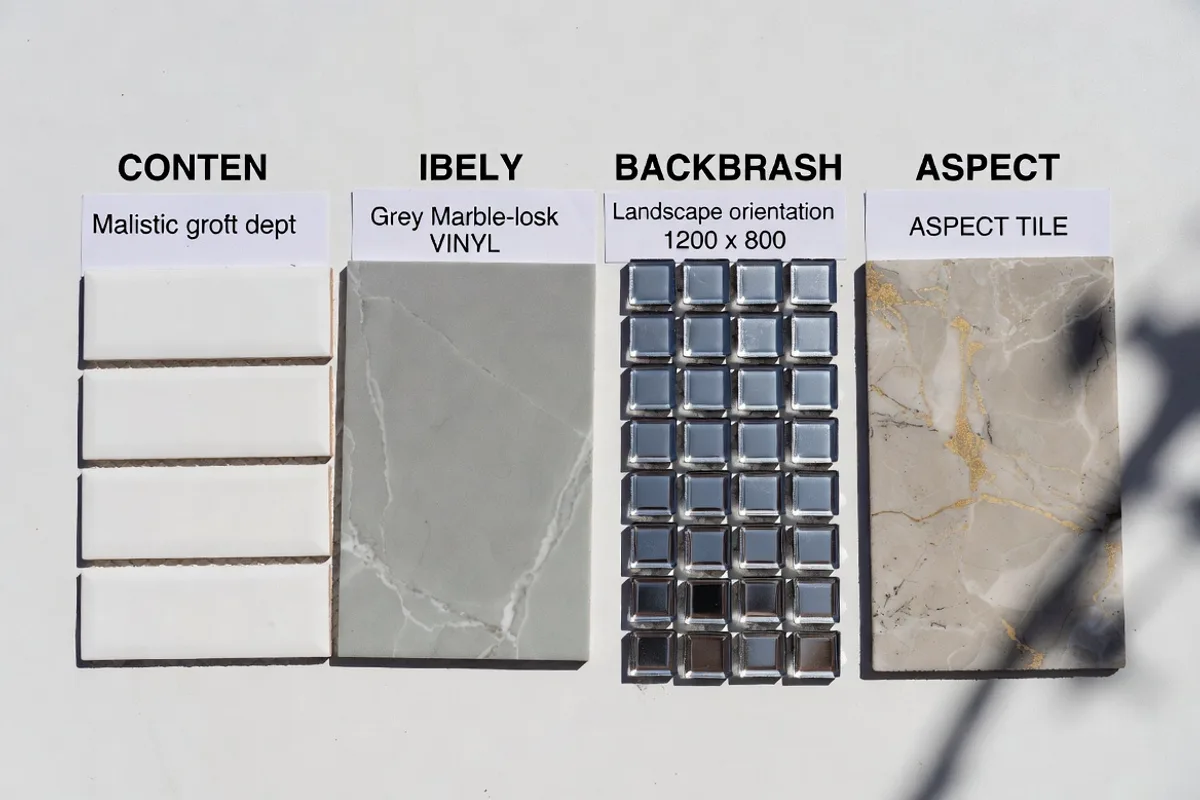
Top Peel and Stick Backsplash Brands Compared
Not all peel and stick tiles are created equal. Here’s an honest look at how the leading brands stack up:
Smart Tiles
Smart Tiles is probably the most recognized name in the category, and for good reason. Their panels are thick (around 4mm), feature subtle 3D texture, and come in an impressive range of styles from classic subway to arabesque. The adhesive is strong and heat-resistant up to 212°F, making them a reliable choice for kitchen use. Panels measure roughly 11.56″ x 9.25″ and cost $8–$12 each. For an average backsplash area of 30 square feet, expect to spend $60–$90. Their grout lines have realistic depth and shadow, which makes a huge difference in how convincing the finished look is.
Stickgoo
Stickgoo has earned a devoted following for their stone-look tiles, particularly their marble and travertine options. The material feels slightly more rigid than vinyl-based competitors, which actually helps with installation — there’s less risk of stretching or misalignment. At $15–$20 per square foot, they’re pricier than Smart Tiles, but the premium appearance justifies the cost for visible, high-impact areas. Their adhesive performs particularly well on painted drywall.
Aspect Peel and Stick Tile
Aspect stands out because they offer real material options — genuine stone, glass, and metal — on a peel-and-stick backing. This is a game-changer for appearance because there’s literally no difference between their product and a traditional tile; it is the actual tile. Pricing is higher at $20–$35 per square foot, but the result looks and feels completely authentic. If budget allows, Aspect tiles are the gold standard for anyone who wants peel-and-stick convenience without any visual compromise.
Budget Brands (Amazon Generic, Tic Tac Tiles)
This is where things get honest. Budget peel and stick tiles — typically sold in large packs for $20–$30 total — almost universally disappoint. The adhesive tends to fail at corners within weeks, the patterns repeat visibly and awkwardly, and the material feels flimsy. They can work for a short-term rental refresh or a temporary update, but don’t expect them to last more than a year in an active kitchen environment.
How Durable Are They, Really?
Let’s cut through the marketing copy: peel and stick backsplashes are not as durable as traditional ceramic or natural stone tile. Full stop. But the gap is smaller than many people assume, especially with premium brands.
The biggest threats to longevity are heat, steam, and improper surface preparation. Areas directly behind a gas range or immediately above a boiling-water zone are high risk. Most manufacturers rate their tiles for moderate heat exposure, but sustained direct heat — like steam from a pot sitting an inch from the wall — will eventually compromise the adhesive. For cooler zones like the area behind a sink or across an open kitchen wall, premium peel and stick tiles can easily last 5–8 years with normal cleaning and care.
Surface prep is the single most important factor in adhesion. The wall must be clean, dry, smooth, and free of grease or texture. Glossy paint or existing tile can be tricky — lightly sanding glossy surfaces before application dramatically improves bonding. Textured walls like orange peel or knockdown finishes are a real problem; the tiles won’t fully contact the surface, leaving air pockets that become peel points over time.
According to This Old House, proper surface preparation accounts for the majority of peel-and-stick installation failures — a fact that most people learn the hard way after their corners start lifting within weeks of application.
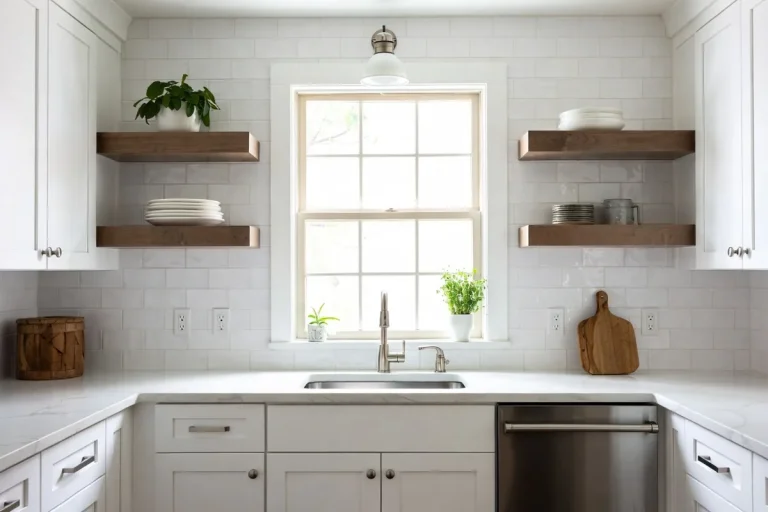
Appearance: Do They Actually Look Real?
This is the question that matters most for most homeowners, and the honest answer is: it depends entirely on which product you choose.
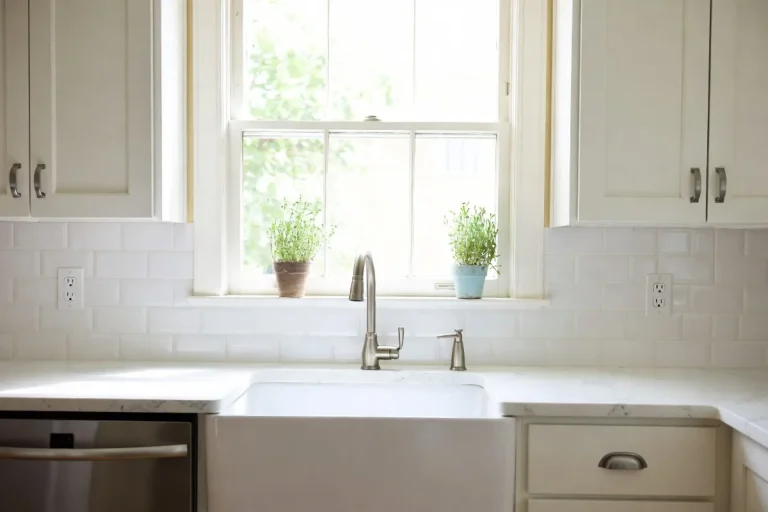
Premium options like Aspect’s real-material tiles or Smart Tiles’ textured panels photograph beautifully and hold up visually in person. The grout lines have depth, the surface has variation, and from a normal viewing distance of a few feet, most guests won’t know the difference. Where the illusion breaks down slightly is on very close inspection — the consistent repeat of a pattern and the uniformly flat backing can give away that you’re looking at a panel rather than individual tiles.
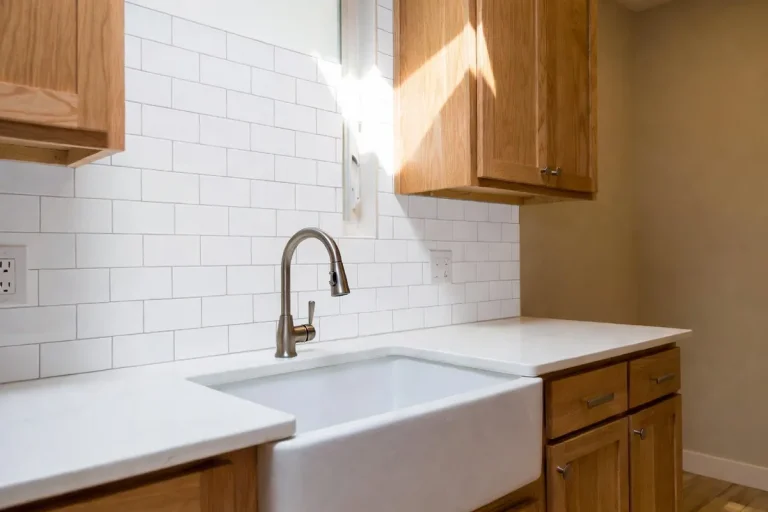
Budget tiles, however, are a different story. The pattern repeat is usually jarring, the surface looks plasticky under certain lighting, and the overall effect reads as a clear imitation. If you’re going for a subway tile look, it’s worth comparing peel and stick panels to the process of installing real subway tile to decide which approach makes more sense for your situation and timeline.
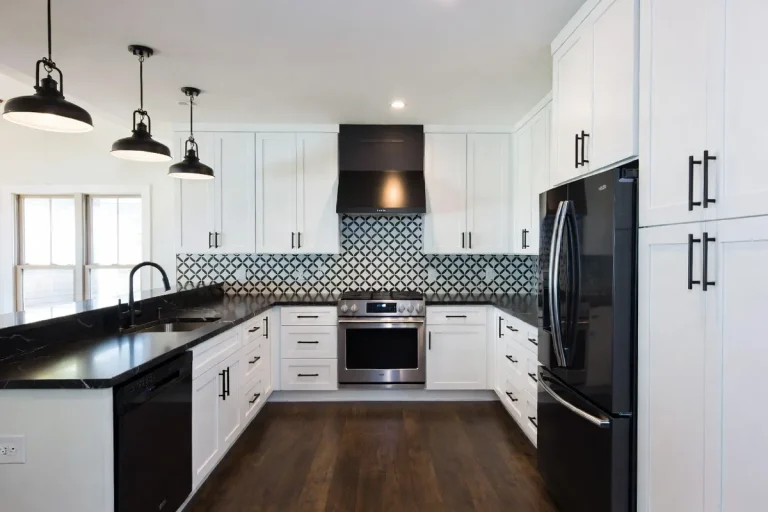
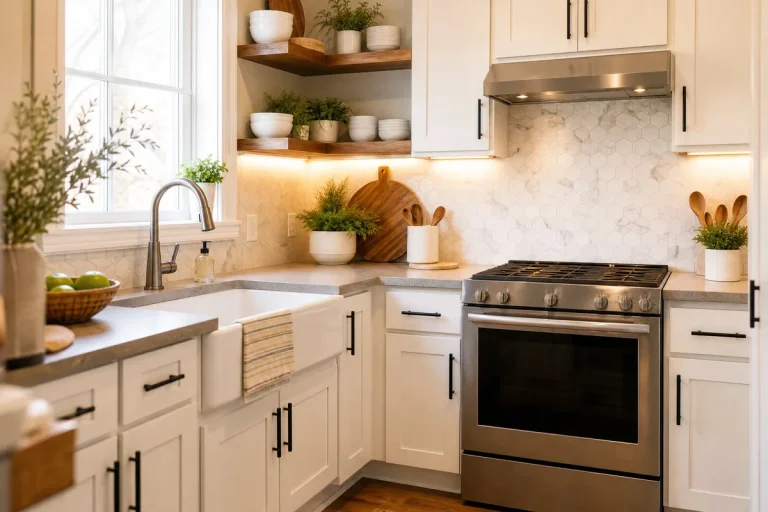
Color and style selection also plays a role. Neutral tones — white, gray, cream, and soft taupe — translate far more convincingly than bold colors or highly reflective metallic finishes. A classic white subway panel from Smart Tiles can genuinely stun; a bright cobalt blue version of the same product tends to look more artificial.
Installation Tips for a Flawless Finish
The beauty of peel and stick is that installation is genuinely approachable for most homeowners. Here’s how to get the best possible result:
Prep the Surface Thoroughly
Wipe the wall down with a degreaser, then follow with rubbing alcohol on a clean cloth. Let it dry completely — at least 24 hours if you’ve washed the area. Any remaining grease or moisture is the enemy of long-term adhesion.
Measure and Plan Before Peeling
Dry-lay your tiles against the wall before removing any backing. Start from the center of a focal point (like the center of the range hood) and work outward. This ensures cut pieces are symmetrical on both sides, which looks far more professional than starting from a corner and ending with awkward partial tiles.
Use a Level and Spacers
Even one slightly off-level panel will compound into a visibly crooked row by the end. Use a small bubble level on every second or third tile. Most peel and stick tiles have built-in offset guides, but don’t trust them blindly — walls are rarely perfectly plumb.
Press Firmly and Use a Squeegee
After placing each tile, use a credit card or rubber squeegee to firmly press from the center outward, eliminating any air bubbles. Pay extra attention to corners and edges, which are the first spots to fail.
Seal the Edges
For kitchens especially, run a thin bead of clear waterproof caulk along the top edge and any horizontal seams. This adds a surprising amount of durability and prevents water from seeping under the tile near the sink or countertop edge. This small step is what separates a result that lasts years from one that starts peeling in months.
Who Should (and Shouldn’t) Use Them
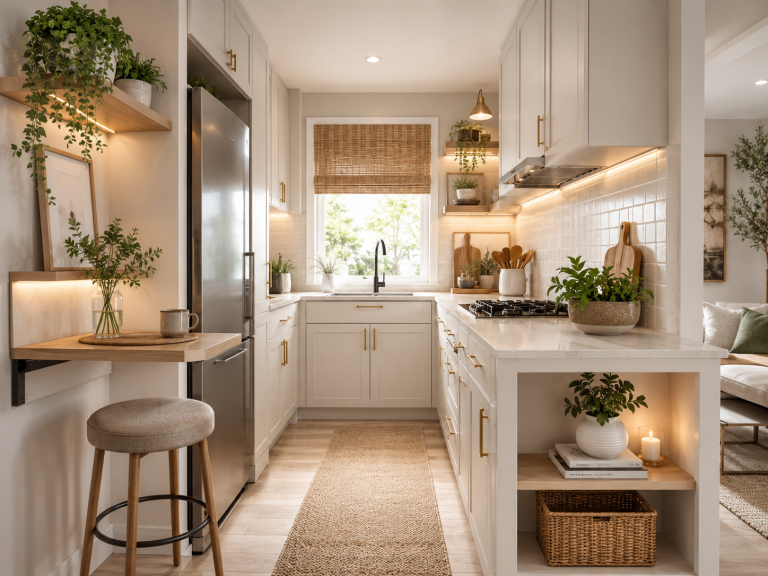
Peel and stick backsplashes are genuinely excellent for renters who want to personalize their space without losing their deposit, homeowners who want a quick refresh before listing a home for sale, or anyone working with a tight budget and timeline. They’re also a smart choice for low-traffic areas like a laundry room or the back of a bookshelf used as a style accent.
They’re a less ideal choice for anyone planning a long-term forever-home installation in a high-heat or high-humidity zone, or for walls with significant texture that can’t be sanded smooth. If you’re already investing in a broader kitchen refresh, it’s worth reading about what no one tells you before a DIY kitchen remodel so you can decide whether peel and stick fits your bigger picture or whether traditional tile makes more sense as part of a larger project.
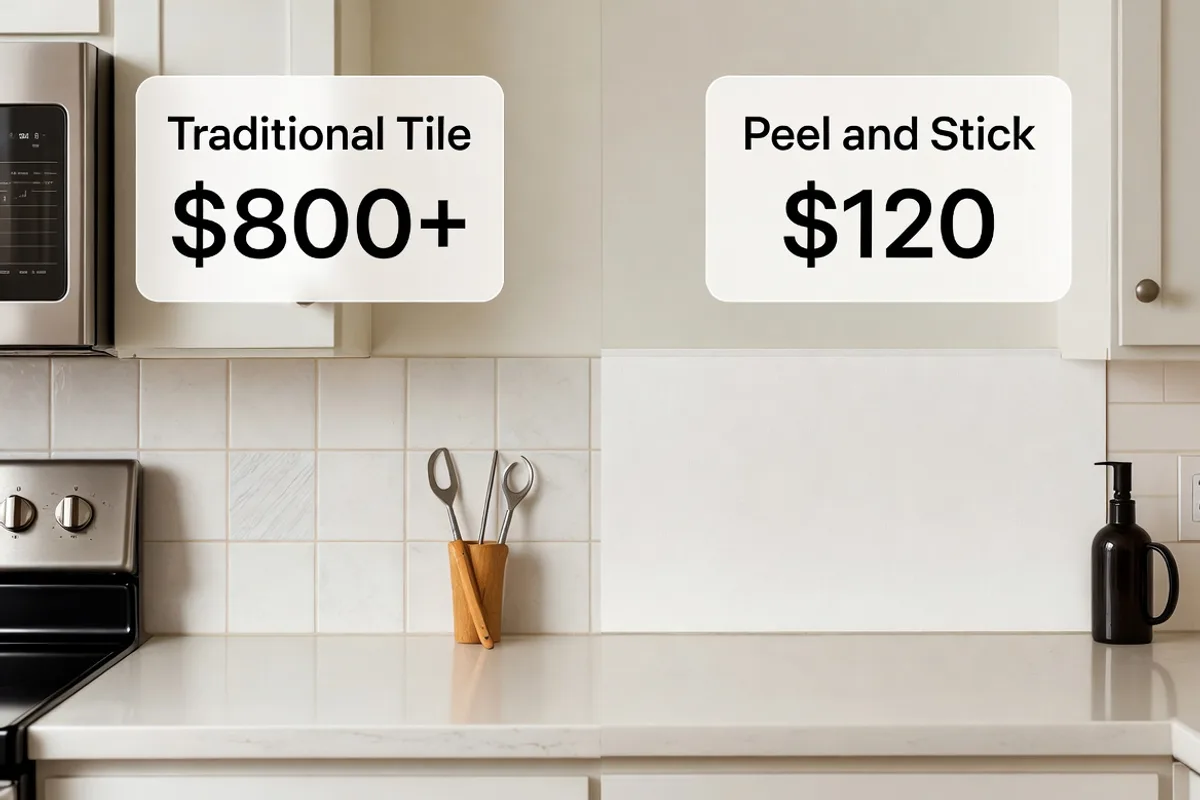
Cost Comparison: Peel and Stick vs. Traditional Tile
Here’s where peel and stick truly shines. A standard kitchen backsplash covers roughly 30–40 square feet. Here’s what each approach typically costs:
- Budget peel and stick: $30–$60 total (materials only)
- Mid-range peel and stick (Smart Tiles, Stickgoo): $80–$150 total
- Premium peel and stick (Aspect real materials): $150–$400 total
- Traditional ceramic subway tile (DIY): $200–$500 (materials + tools)
- Traditional tile professionally installed: $600–$1,500+
The value proposition is undeniable at the mid-range level. For $80–$150 and a Saturday afternoon, you can achieve a result that would cost $600+ with a professional tile installation. If you’re weighing this against other kitchen improvements, it’s worth noting that according to what buyers actually want in a kitchen, a fresh, clean backsplash consistently ranks as a high-impact visual upgrade that photographs beautifully for listings and impresses during showings.
Frequently Asked Questions
Can peel and stick backsplash tiles be removed without damaging the wall?
Yes, in most cases. Premium brands are specifically designed for clean removal — use a hair dryer or heat gun to warm the adhesive, then peel slowly from a corner. On freshly painted drywall, there’s always a small risk of pulling paint, which is why most manufacturers recommend waiting 30 days after painting before applying tiles. Using a product like Goo Gone after removal clears any adhesive residue without damaging the wall surface.
How do you clean peel and stick kitchen backsplash tiles?
Most peel and stick tiles are water-resistant and can be wiped down with a damp cloth and mild dish soap. Avoid abrasive scrubbers or harsh chemical cleaners, which can degrade the surface finish and loosen edge adhesion over time. For grease buildup behind a range, a 50/50 solution of water and white vinegar applied with a soft cloth works well without damaging the tile surface.
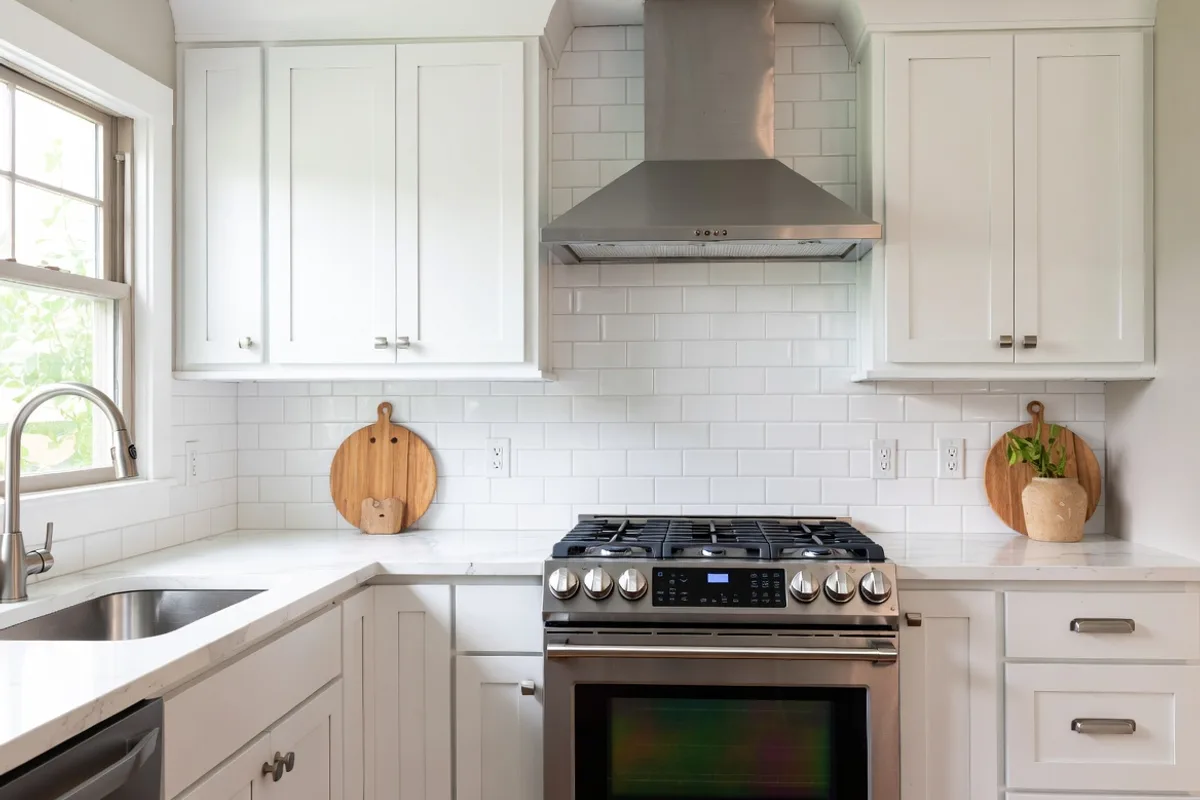
Will peel and stick backsplash hold up near a stove?
It depends on the heat exposure level. Most premium brands are rated for moderate heat (up to 212°F), which handles typical cooking splatter and ambient warmth well. However, placing them directly behind a gas burner or in an area exposed to direct open flame is not recommended. For the zone immediately behind a range, you may want to consider a traditional tile installation or ensure you have a proper range hood that vents heat away from the wall surface.
What surfaces can’t you use peel and stick backsplash on?
Avoid heavily textured walls (orange peel, knockdown, or brick), surfaces with fresh paint (less than 30 days old), and any surface that isn’t completely clean and dry. Laminate and MDF surfaces also tend to be problematic because they can absorb moisture and cause the adhesive to fail. If your existing wall has a high-gloss paint finish, lightly sand it with 220-grit sandpaper before application to give the adhesive something to grip.
Conclusion
So — is a peel and stick kitchen backsplash actually worth it? The honest answer is a resounding yes, as long as you choose the right product and prepare your surface properly. For renters, budget-conscious homeowners, and anyone who wants a high-impact kitchen refresh without the cost or mess of traditional tile work, mid-range and premium peel and stick options deliver genuinely impressive results. The key is resisting the temptation of the cheapest option on the shelf — spend a little more for Smart Tiles, Stickgoo, or Aspect, and you’ll get something that looks great, holds up through normal kitchen use, and comes off cleanly when you’re ready for a change.
If you’re still weighing your options, don’t miss our roundup of the best cheap kitchen backsplash ideas under $200 — peel and stick is just one of many creative ways to transform this space on a budget. Ready to start? Pick your style, prep that wall, and enjoy the satisfaction of a beautiful kitchen upgrade you did entirely yourself.