23 Cheap Kitchen Backsplash Ideas Under $200
A beautiful kitchen backsplash doesn’t have to drain your savings — in fact, some of the most stunning transformations happen on the tightest budgets. Whether you’re renting, flipping a home, or simply trying to refresh your space without a full renovation, these cheap kitchen backsplash ideas prove that creativity beats cash every single time. We’ve rounded up 23 real, doable solutions that cost under $200 and range from beginner-friendly to mildly ambitious.
Key Takeaways
- You can achieve a stunning kitchen backsplash for well under $200 using peel-and-stick tiles, paint, beadboard, or reclaimed materials.
- Many of these projects are beginner-friendly and require nothing more than basic tools and a free weekend afternoon.
- Peel-and-stick options are ideal for renters since they remove cleanly without damaging walls.
- Painted backsplash designs — including stencils and faux tile — offer the most dramatic transformation at the lowest cost.
- Mixing and layering budget materials (like beadboard plus paint) can produce a high-end, custom look on a shoestring budget.
Peel-and-Stick Tile Ideas
Peel-and-stick tiles have completely changed the DIY backsplash game. They come in an enormous variety of styles — subway, mosaic, hexagon, Moroccan, marble-look — and most can be installed in an afternoon without grout, special adhesive, or tile-cutting tools. Here are some of our favorite options in this category:
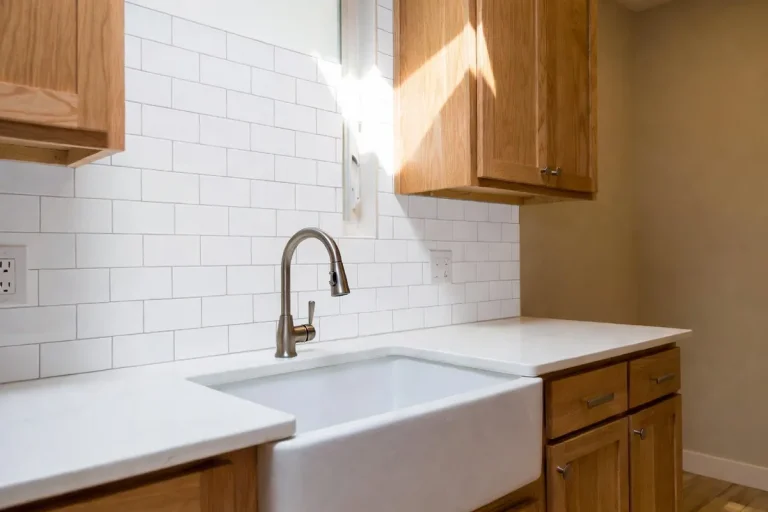
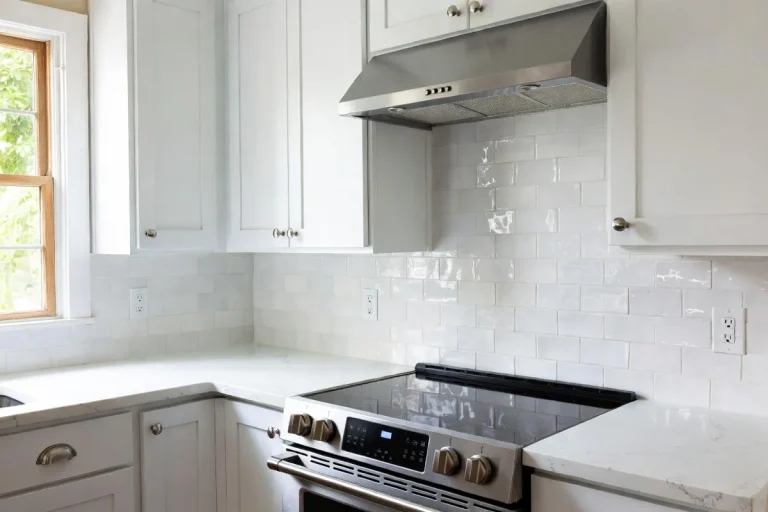
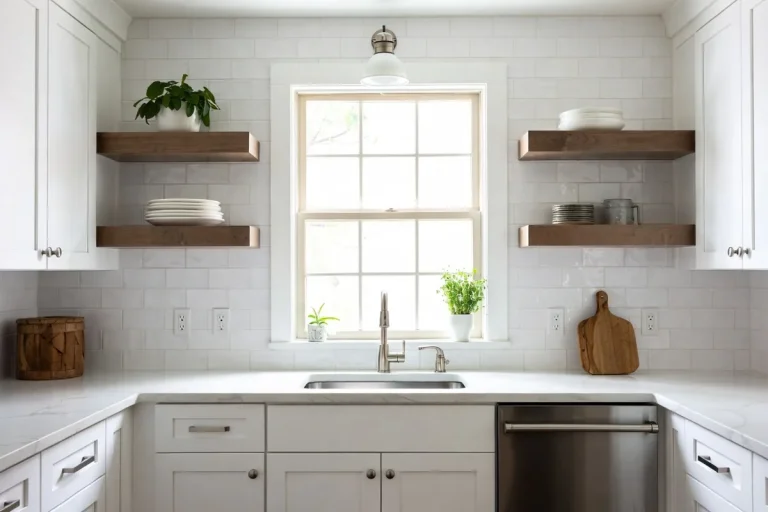
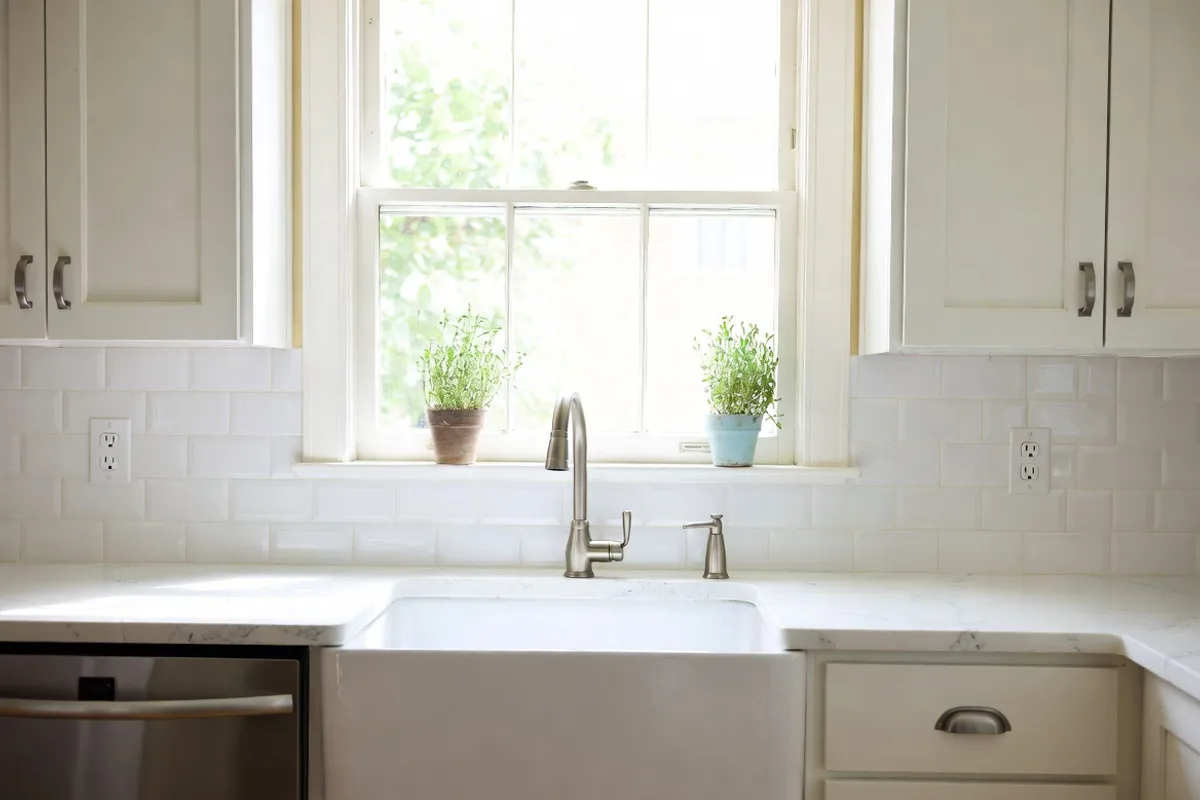
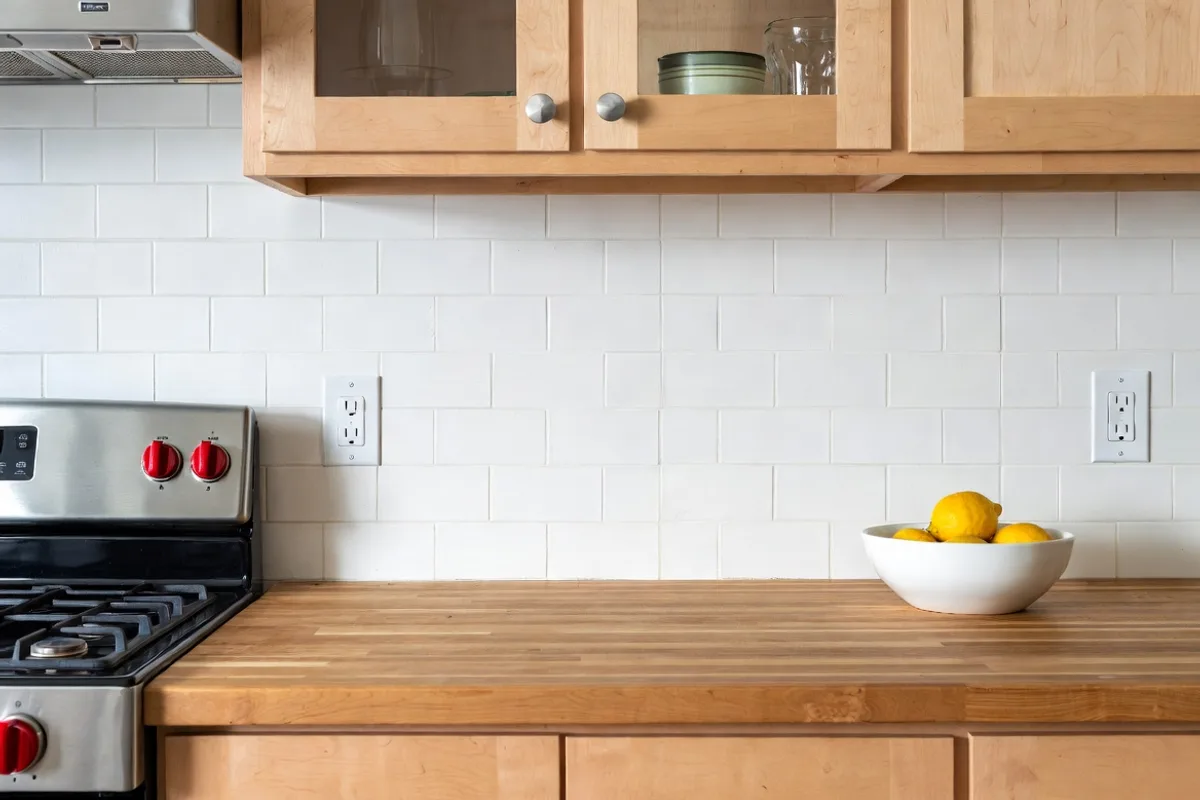
1. Classic White Subway Peel-and-Stick Tiles
Estimated Cost: $40–$70 | Skill Level: Beginner
A timeless look that works in any kitchen. White subway peel-and-stick panels can cover a standard 20–30 sq. ft. backsplash area for around $50. Clean the wall thoroughly, use a level, and start from the center. The result looks remarkably close to the real thing.
2. Marble-Look Peel-and-Stick Mosaic Tiles
Estimated Cost: $60–$90 | Skill Level: Beginner
These come in large sheets with a realistic veined marble pattern. They’re especially effective behind a stovetop and instantly add a luxe feel. Check that your chosen product is heat-rated if it will sit directly behind a stove.
3. Herringbone Pattern Tiles
Estimated Cost: $50–$80 | Skill Level: Beginner–Intermediate
Many peel-and-stick herringbone tiles come pre-arranged on a mesh-backed sheet, making the pattern easy to achieve without the usual labor. Stick to neutral tones like warm gray or greige for maximum versatility.
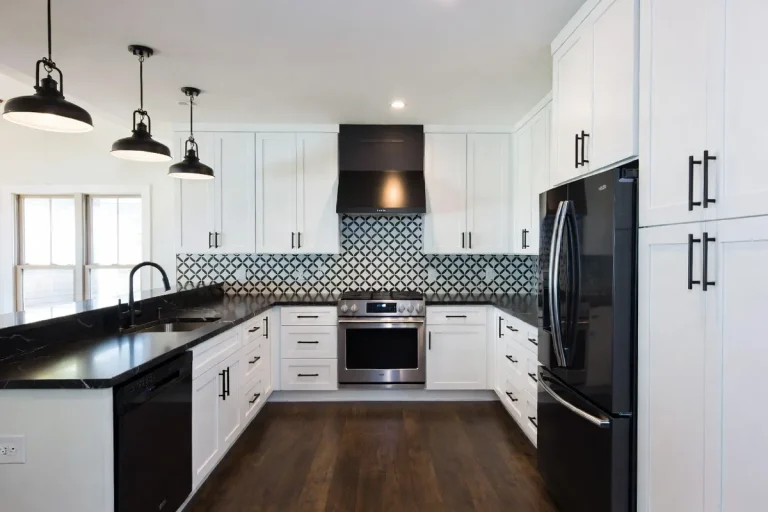
4. Black Hexagon Peel-and-Stick Tiles
Estimated Cost: $45–$75 | Skill Level: Beginner
Bold, graphic, and surprisingly affordable. Black hexagon tiles pair beautifully with white cabinetry and gold hardware. They make a small kitchen feel intentional and designed rather than default.
5. Wood-Look Peel-and-Stick Planks
Estimated Cost: $55–$85 | Skill Level: Beginner
Faux shiplap-style planks in a matte wood finish bring serious warmth to any kitchen. They’re lightweight, easy to trim with scissors or a utility knife, and can create a cozy, farmhouse-inspired look in under two hours.
6. Stainless Steel-Look Peel-and-Stick Panels
Estimated Cost: $60–$100 | Skill Level: Beginner
Want an industrial or modern look? Faux stainless steel panels add a sleek, professional kitchen feel without the hefty price tag. These work exceptionally well in apartments or condos where permanent changes aren’t allowed.
7. Moroccan-Pattern Peel-and-Stick Tiles
Estimated Cost: $50–$80 | Skill Level: Beginner
Colorful, bold, and full of personality — Moroccan pattern tiles are widely available on Amazon and in home improvement stores. They’re perfect for creating a statement wall behind a range or island. If you’re planning a DIY kitchen remodel, starting with a bold peel-and-stick backsplash is one of the most impactful and lowest-risk changes you can make.
Painted Backsplash Ideas
Paint is arguably the most underestimated tool in a budget renovator’s kit. With the right prep work and a quality sealer, painted backsplashes can last for years and look genuinely impressive. These ideas range from dead-simple to mildly creative.
8. Solid Bold Color Painted Backsplash
Estimated Cost: $15–$30 | Skill Level: Beginner
Sometimes one bold color is all you need. Deep navy, forest green, or warm terracotta painted directly onto a smooth wall creates a clean, modern backdrop. Use a semi-gloss or gloss finish paint for easy wiping and moisture resistance.
9. Faux Tile Painted Backsplash
Estimated Cost: $25–$50 | Skill Level: Intermediate
Using painter’s tape to create a grid pattern and two contrasting paint colors, you can mimic the look of real subway tile at almost zero cost. Our detailed guide on how to paint a kitchen backsplash that lasts walks you through every step, including the best sealers to use for long-term durability.
10. Chalk Paint Textured Backsplash
Estimated Cost: $20–$40 | Skill Level: Beginner
Chalk paint applied with a sea sponge or stippling brush creates a beautiful, organic textured look that’s highly forgiving of imperfect walls. Seal with a water-based polycrylic once fully dry.
11. Two-Tone Color Block Painted Backsplash
Estimated Cost: $20–$35 | Skill Level: Beginner
Paint the lower half of the backsplash one color and the upper half another, separated by a crisp painter’s tape line. This works beautifully in smaller kitchens where you want visual interest without pattern overwhelm.
Beadboard Backsplash Ideas
Beadboard is one of the most underrated cheap kitchen backsplash ideas out there. A standard 4×8 sheet of beadboard paneling costs roughly $15–$25 at most hardware stores, and it can be cut to size, painted any color, and sealed for kitchen use with minimal effort.
12. Classic White Painted Beadboard
Estimated Cost: $30–$60 | Skill Level: Beginner–Intermediate
Install beadboard paneling cut to fit your backsplash area, caulk all edges, and paint in crisp white. This is a staple of the cottage kitchen aesthetic and looks far more expensive than it costs. Seal with two coats of semi-gloss paint for moisture resistance.
13. Beadboard + Painted Shiplap Hybrid
Estimated Cost: $50–$90 | Skill Level: Intermediate
Combine narrow beadboard strips horizontally to mimic a shiplap effect, then paint in a soft warm white or sage green. This is a particular favorite for anyone chasing a farmhouse or coastal kitchen vibe on a serious budget.
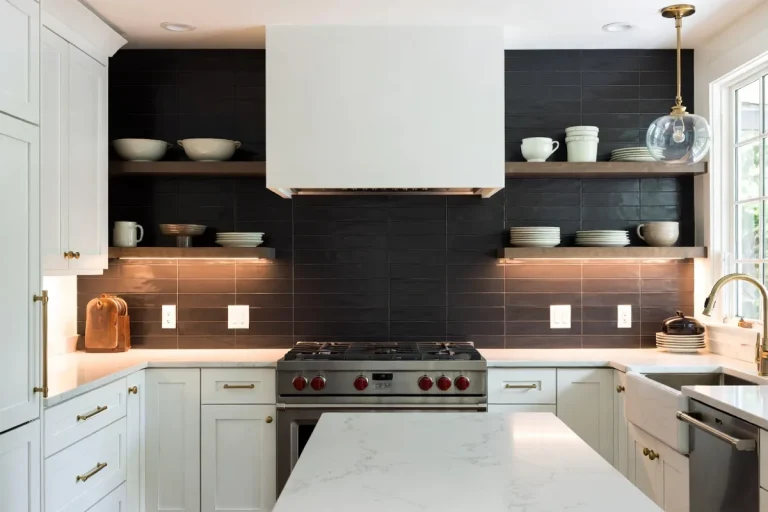
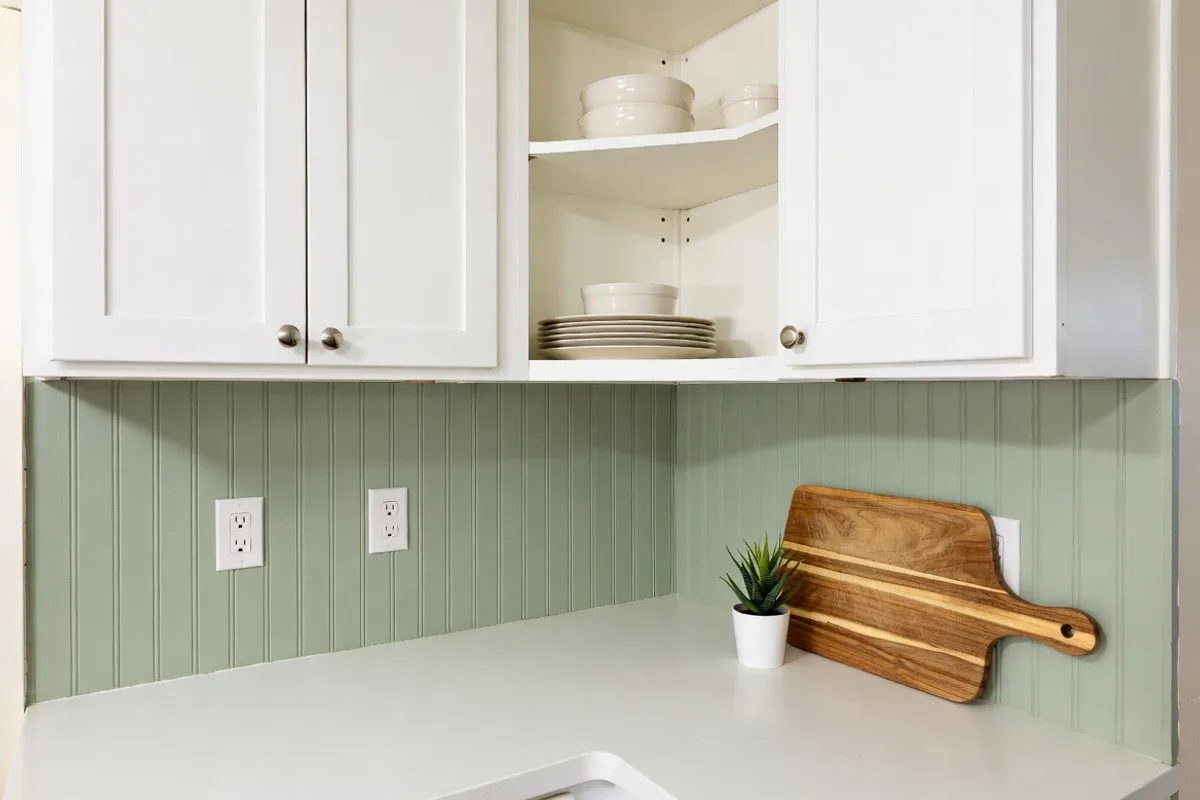
14. Colored Beadboard Accent Panel
Estimated Cost: $35–$65 | Skill Level: Beginner–Intermediate
Paint your beadboard in a bold color — dusty blue, sage, or even deep charcoal — instead of the usual white. A single colored beadboard panel behind the stove becomes an intentional focal point that anchors the whole kitchen.
Reclaimed & Budget Material Ideas
Some of the most creative cheap kitchen backsplash ideas involve materials you might never think to use in a kitchen. These options require a little more imagination but deliver truly unique results.
15. Reclaimed Wood Planks
Estimated Cost: $20–$80 | Skill Level: Intermediate
Source thin reclaimed wood planks from a salvage yard or habitat for humanity ReStore and glue them directly to the wall in a staggered pattern. Seal heavily with polyurethane. The warmth and texture are unmatched, and no two kitchens will look alike. According to This Old House, reclaimed wood backsplashes are one of the most popular DIY kitchen trends precisely because of their one-of-a-kind character.
16. Tin Ceiling Tiles as a Backsplash
Estimated Cost: $50–$100 | Skill Level: Intermediate
Decorative tin tiles (or their modern faux tin equivalents) can be purchased individually, cut with tin snips, and adhered to the wall with construction adhesive. They come in gorgeous embossed patterns and can be painted after installation.
17. Pallet Wood Backsplash
Estimated Cost: $0–$30 | Skill Level: Intermediate
If you can source clean, heat-treated pallets for free (look on local Facebook Marketplace or Craigslist), a pallet wood backsplash costs almost nothing. Sand the slats smooth, cut to size, and seal thoroughly. It’s rustic, warm, and completely original.
18. Cork Tile Backsplash
Estimated Cost: $40–$80 | Skill Level: Beginner
Cork wall tiles are inexpensive, easy to cut, and surprisingly moisture-resistant when sealed. They add a warm, earthy texture that works beautifully in natural or boho-inspired kitchens. Seal with multiple coats of water-based polyurethane.
Stencil & Peel-and-Stick Wallpaper Ideas
19. Tile Stencil Painted Design
Estimated Cost: $20–$45 | Skill Level: Intermediate
A reusable tile stencil (widely available online for $10–$20) and a small foam roller are all you need to create an intricate, hand-painted tile effect. This is especially stunning in Spanish, Moroccan, or Portuguese-inspired patterns. If you’re curious about the full scope of what paint can do for your kitchen, exploring kitchen renovations designers recommend will give you even more inspiration to work with.
20. Peel-and-Stick Wallpaper Backsplash
Estimated Cost: $30–$70 | Skill Level: Beginner
Not just for accent walls — peel-and-stick wallpaper in a tile-print pattern makes an incredibly convincing backsplash, especially when you choose a design with a clean grout-line effect. It’s renter-friendly and fully removable.
21. Geometric Stencil Color Block
Estimated Cost: $25–$50 | Skill Level: Intermediate
Use geometric stencils to create a repeating diamond, chevron, or triangular pattern across your backsplash in two complementary colors. The result is graphic, modern, and completely custom.
22. Chalkboard Paint Backsplash
Estimated Cost: $15–$30 | Skill Level: Beginner
A chalkboard paint backsplash is functional, fun, and wildly affordable. Write your weekly menu, draw doodles, or leave notes — it’s especially popular in family kitchens. Apply two to three coats for full coverage.
23. Washi Tape Tile Effect
Estimated Cost: $10–$25 | Skill Level: Beginner
This is the ultimate renter hack. Use wide washi tape in a solid color or pattern to create a grid effect that mimics grout lines on a painted or existing tiled wall. It’s completely removable, costs next to nothing, and is genuinely surprising in how effective it looks in photos.
Pro Tips for a Flawless Budget Backsplash
Regardless of which method you choose, a few universal tips will dramatically improve your results:
- Prep the wall thoroughly. Clean with TSP or a degreaser, especially near the stove. Any grease or residue will prevent adhesion on peel-and-stick and painted surfaces alike.
- Use a level and a chalk line. The most common DIY backsplash mistake is starting crooked. Take an extra five minutes to establish a true level line before your first tile or brushstroke.
- Seal everything near the stove. Even beadboard and wood backsplashes work near a stove as long as they’re properly sealed and not directly adjacent to open flames.
- Temperature matters for peel-and-stick. Apply peel-and-stick tiles in a room that’s at least 65°F for the best adhesion. Cold walls cause tiles to peel prematurely.
- Buy 10–15% extra material. Whether you’re using tiles, planks, or beadboard panels, always purchase slightly more than your measurements suggest to account for cuts and mistakes.
Common Mistakes to Avoid
Budget backsplash projects are forgiving, but a few pitfalls can turn a weekend project into a frustration:
- Skipping the sealer on painted or wood surfaces. Paint alone is not waterproof. Always finish with a water-resistant sealer, especially near the sink and stove.
- Using peel-and-stick on textured walls. Peel-and-stick tiles require a smooth, flat surface. Lightly skim coat or sand textured walls first, or choose a different method entirely.
- Ignoring grout lines on faux tile paint. If you’re creating a faux tile effect, inconsistent spacing looks amateurish. Use a laser level or pre-measured tape guides for perfect lines every time.
- Choosing the wrong paint finish. Flat or matte paint has no place in a kitchen backsplash. Always go semi-gloss or gloss for wipeability and moisture resistance.
Frequently Asked Questions
What is the cheapest kitchen backsplash option?
The absolute cheapest option is chalkboard paint or a solid-color painted backsplash, which can cost as little as $10–$20 in materials. Washi tape tile effects are similarly inexpensive. For a more polished look at low cost, peel-and-stick subway tiles typically run $40–$70 for a standard backsplash area and are extremely beginner-friendly.
Can peel-and-stick tiles be used in a kitchen?
Yes, absolutely. Most peel-and-stick tile products are designed specifically for kitchens and bathrooms. Look for products labeled as moisture-resistant and heat-tolerant, especially if they’ll be placed near the stove. Applying them to a clean, smooth, grease-free wall is the key to long-term adhesion.
How do I make a cheap backsplash look expensive?
The trick is in the details: use a level for perfectly straight lines, caulk all edges cleanly, choose a cohesive color palette that complements your cabinets and countertops, and add a professional-looking grout-line effect even on painted or peel-and-stick surfaces. Choosing a timeless pattern (subway, herringbone, or classic white) also ensures the space looks curated rather than budget-cut.
Are painted backsplashes durable?
When done correctly — with proper wall prep, quality semi-gloss or gloss paint, and a water-resistant topcoat sealer — painted backsplashes can last several years without chipping or peeling. The most important steps are thorough degreasing before painting and applying at least two coats of a polycrylic or kitchen-safe sealer after the paint has fully cured (typically 72 hours).
Conclusion
A gorgeous kitchen backsplash is absolutely within reach on a budget — and these 23 cheap kitchen backsplash ideas prove that you don’t need a contractor, a tile saw, or a four-figure budget to make a real impact. Whether you go for the effortless peel-and-stick route, get creative with a stencil and a can of paint, or embrace the rustic warmth of beadboard, each of these solutions can transform your kitchen for under $200 and often in a single weekend. The best project is the one you’ll actually start — so pick your favorite idea from this list, grab your supplies, and get going. Your kitchen deserves to look exactly the way you’ve always imagined it.