How to Paint a Kitchen Backsplash That Lasts
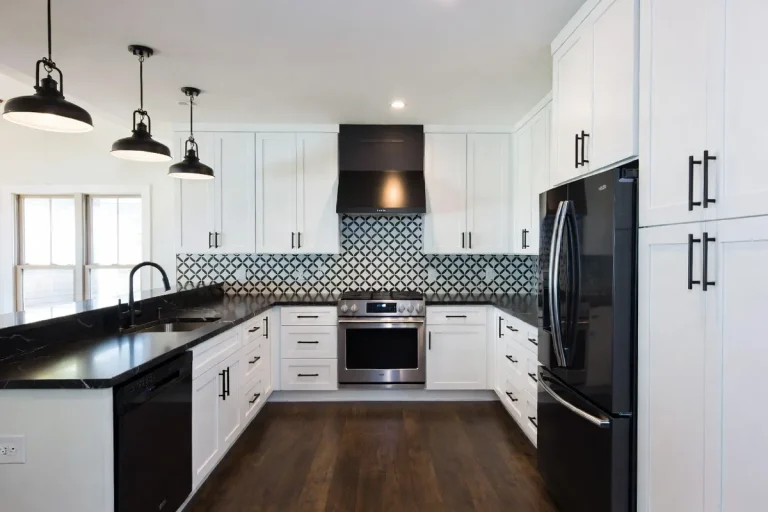
A fresh backsplash can completely transform the feel of your kitchen — and the good news is you don’t need to rip out a single tile to get there. With the right preparation, products, and a little patience, painted kitchen backsplash ideas can deliver stunning, long-lasting results that hold up against steam, grease, and daily wear.
Key Takeaways
- Proper surface prep — cleaning, sanding, and priming — is the single most important factor in how long your painted backsplash lasts.
- Bonding primer is non-negotiable when painting over existing tile; it creates the adhesion layer that keeps paint from peeling.
- Use a moisture-resistant, semi-gloss or satin finish paint specifically formulated for kitchens or bathrooms.
- A quality topcoat sealer is your best defense against steam, grease, and everyday scrubbing.
- Painted backsplashes work on tile, drywall, and even brick — but each surface requires slightly different preparation steps.
Why Painting Your Backsplash Is Worth It
Let’s be honest — replacing a kitchen backsplash is expensive. Between the cost of new tile, grout, and installation labor, you’re easily looking at $500 to $2,000 or more depending on the size of your kitchen. Painting, on the other hand, can cost as little as $50 to $150 in materials and deliver results that genuinely impress.
Beyond budget, painting gives you flexibility. Tired of your terracotta tile from the early 2000s? Paint it a crisp white or a moody sage green. Want to experiment with a pattern or stencil before committing to something permanent? A painted backsplash lets you do exactly that. And if your tile is structurally sound but just visually dated, painting is a far more sustainable option than sending perfectly good materials to a landfill.
Pro Tip: If your existing tile has cracks, chips, or moisture damage behind it, address those issues before painting. Paint covers color — not structural problems.
Understanding Your Surface: Tile vs. Drywall
The approach you take will vary significantly depending on what you’re painting over, so identifying your surface first is critical.
Painting Over Existing Tile
Glazed ceramic or porcelain tile is the most common backsplash surface, and it’s also the trickiest to paint because the glossy finish naturally repels paint. The key is mechanical and chemical adhesion — meaning you need to both lightly sand the surface and use a bonding primer. Don’t skip either step. The grout lines also need attention; they should be clean, sealed, and in good condition before you start.
Painting Over Drywall
If your backsplash area is drywall — common in rentals or older homes — the prep is slightly more forgiving in terms of adhesion, but moisture resistance becomes even more critical. Standard drywall absorbs water, which means you absolutely need a moisture-resistant primer and paint to prevent bubbling, peeling, and eventual mold growth. Consider skim-coating any uneven areas first for a smooth, professional finish.
Painting Over Brick or Stone
Porous surfaces like brick require a masonry primer and may need two coats of paint to fully fill the texture. Use a thicker nap roller to get into crevices, and plan for extra drying time between coats.
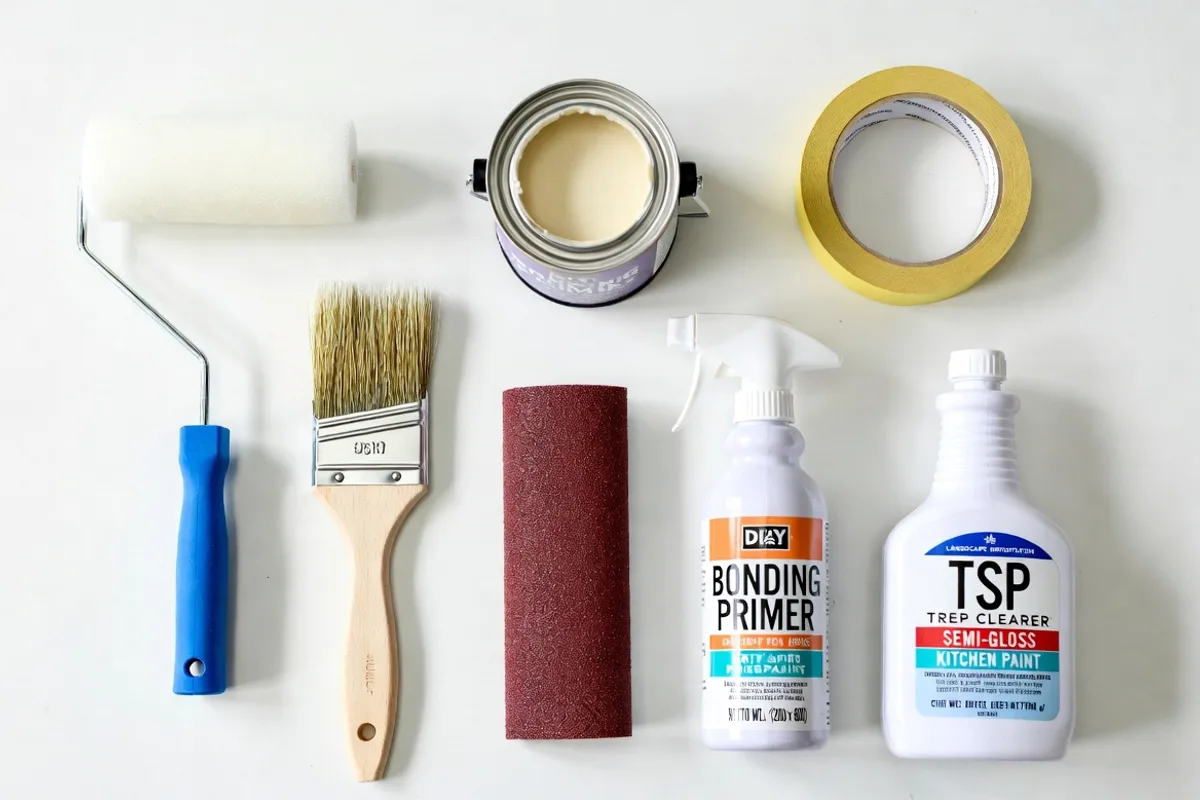
Tools and Materials You’ll Need
Before you open a single can, gather everything. Having your materials organized before you start will save you from making trips to the hardware store mid-project with paint-covered hands.
- TSP cleaner or degreaser — essential for cutting through kitchen grease
- Fine-grit sandpaper (220-grit) — for scuffing glossy tile surfaces
- Bonding primer (for tile) or moisture-resistant primer (for drywall)
- Kitchen or bath paint in a semi-gloss or satin finish
- High-quality polyurethane or polycrylic sealer
- Small foam roller (4-inch) for smooth tile surfaces
- Angled brush for grout lines and edges
- Painter’s tape and drop cloth
- Grout paint pen (optional, for refreshing grout lines separately)
The Prep Work That Makes or Breaks Everything
Here’s the honest truth: 80% of the success of your painted backsplash comes from prep. If you rush this phase, your beautiful new color will start peeling within months — and then you’ll be right back where you started, but more frustrated.
Step 1: Deep Clean the Surface
Kitchen backsplashes accumulate an invisible layer of cooking grease and oil that acts like a barrier against paint adhesion. Mix TSP (trisodium phosphate) cleaner according to package directions and scrub the entire backsplash thoroughly. Rinse well and let it dry completely — and we mean completely. Give it at least 24 hours before moving on.
Step 2: Sand Glossy Surfaces
If you’re painting over glazed tile, use 220-grit sandpaper to lightly scuff the surface. You’re not trying to remove the glaze — just dulling it enough to give the primer something to grip. Wipe away all dust with a damp cloth and let it dry again.
Step 3: Repair and Tape
Fill any chips or cracks in the tile or grout with a tile repair compound. Re-caulk the seam where the backsplash meets the countertop if it’s cracked or moldy. Apply painter’s tape along cabinet edges, countertop edges, and outlet covers. Remove outlet plates entirely if possible — painting around them looks sloppy.
Common Mistake to Avoid: Many DIYers skip cleaning the grout lines specifically. Grout is porous and holds onto grease and mildew. Use an old toothbrush with your TSP cleaner to scrub each grout line individually. This extra 20 minutes of effort makes a massive difference.
Choosing and Applying the Right Primer
Primer is not optional — it’s the foundation everything else rests on. For tile, you need a shellac-based or water-based bonding primer specifically designed to adhere to slick surfaces. Brands like Zinsser BIN or KILZ Adhesion are consistently recommended by professional painters for this exact reason.
Apply your primer with a small foam roller for the flat tile faces and a brush for the grout lines. One coat is usually sufficient for tile, but two coats are recommended for drywall or any surface that feels particularly porous. Let each coat dry fully according to the manufacturer’s instructions — rushing this step is one of the biggest DIY mistakes people make.
Once the primer is dry, lightly sand again with 220-grit sandpaper for an ultra-smooth finish, then wipe away dust. You’ll be amazed at how professional this makes your final paint coat look.
Painting Your Backsplash: Techniques and Tips
Now comes the satisfying part. Choose a kitchen-specific paint or a bathroom paint — these are formulated to resist humidity, grease splatter, and frequent wiping. Sherwin-Williams Emerald Interior, Benjamin Moore Aura Bath & Spa, and Rust-Oleum’s Cabinet Transformations line are all excellent options. Stick to semi-gloss or satin sheens; matte finishes trap grease and are nearly impossible to clean without scrubbing off the paint.
Application Technique
Use your angled brush first to paint into grout lines and along edges, then follow with your foam roller for the flat tile faces. This “cut and roll” technique gives you even coverage without brush marks. Apply thin, even coats rather than one thick coat — this prevents drips and reduces drying time. Two to three thin coats will give you a far more durable and professional result than one heavy coat.
Pro Tip: Between coats, lightly sand with 400-grit sandpaper and wipe clean. This levels any texture and dramatically improves the final sheen and smoothness.
Sealing for Long-Term Durability
If you want your painted backsplash to survive years of cooking steam, splashing water, and daily wiping, a topcoat sealer is non-negotiable. Wait at least 48 to 72 hours after your final paint coat before applying sealer — the paint needs to cure, not just dry.
For a water-based option, polycrylic sealers are excellent and won’t yellow over time (important if you’ve used white or light colors). For maximum durability, a water-based polyurethane offers slightly harder protection. Apply two to three thin coats with a foam roller or brush, sanding lightly between coats with 400-grit paper.
Allow the sealer to fully cure — not just dry to the touch — before exposing it to water or steam. Most sealers need 7 days to reach full hardness. During this curing period, be gentle with the surface.
Creative Painted Kitchen Backsplash Ideas
Once you’ve nailed the technique, the design possibilities are genuinely exciting. Here are some of the most popular painted kitchen backsplash ideas to spark your creativity:
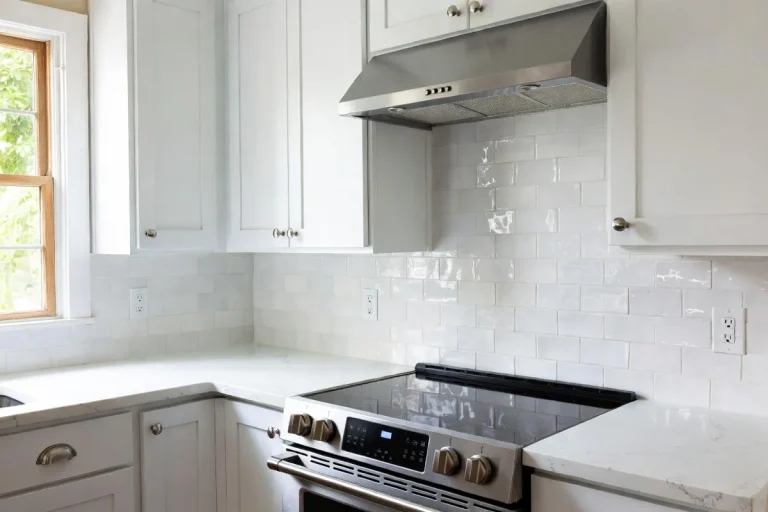
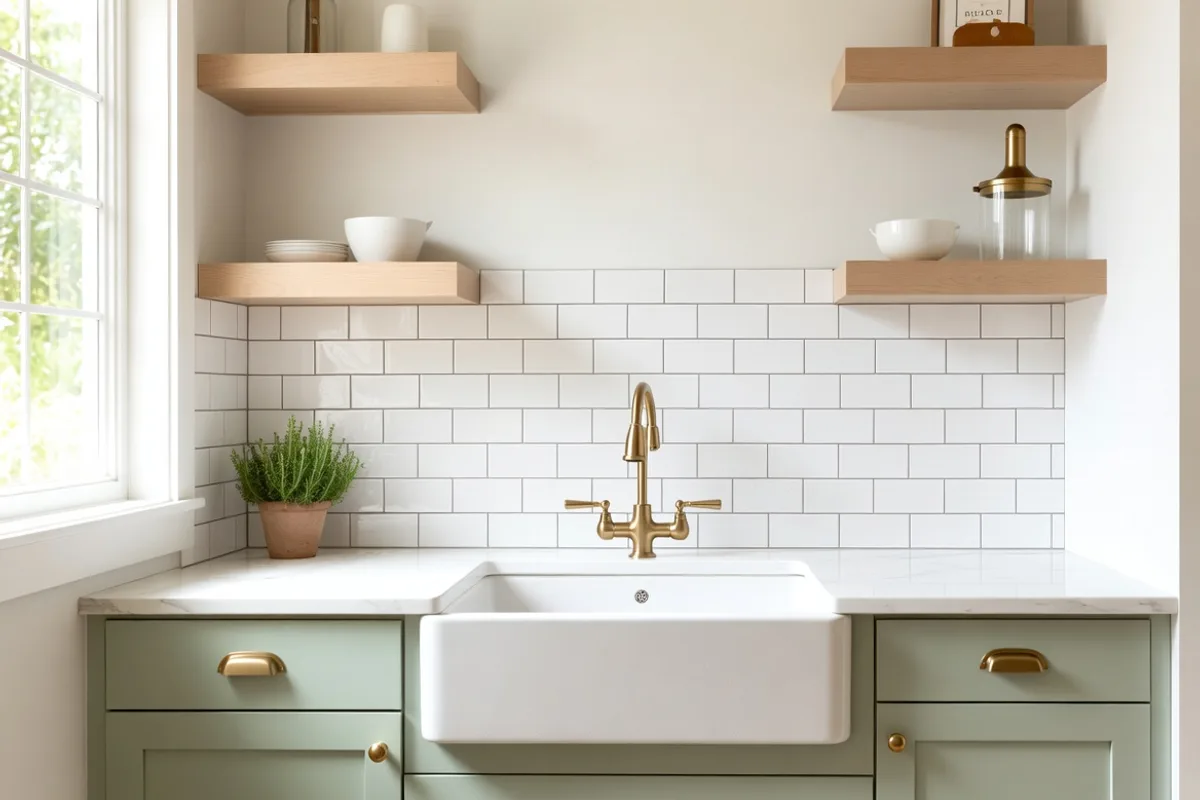
- Solid color refresh: The simplest and most timeless approach — painting existing tile a single clean color like crisp white, warm cream, or soft sage instantly modernizes a dated kitchen.
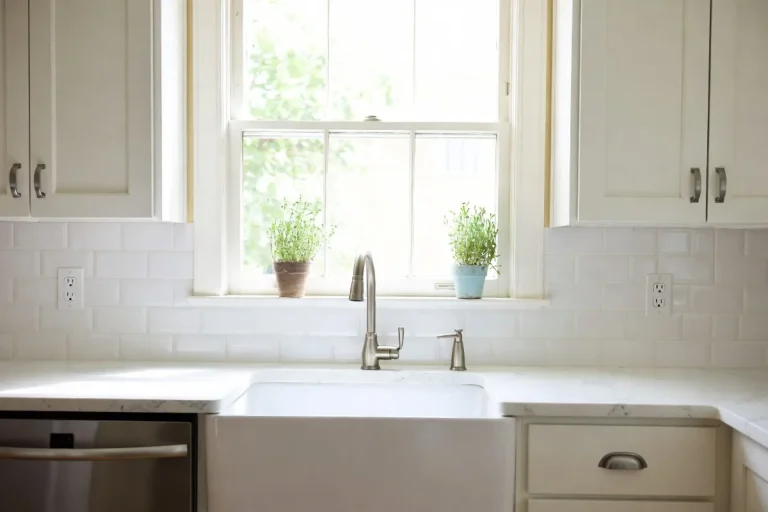
- Faux subway tile: Use painter’s tape on a plain drywall backsplash to create a classic subway tile grid pattern, then paint in two tones for depth and dimension.
- Stenciled pattern: Adhesive stencils are available in hundreds of geometric, Moroccan, and botanical patterns. Use a foam pouncer for crisp edges and minimal bleed-through.
- Ombre effect: Blend two shades of the same color family — light at the top, deeper at the bottom — for a soft, modern gradient look.
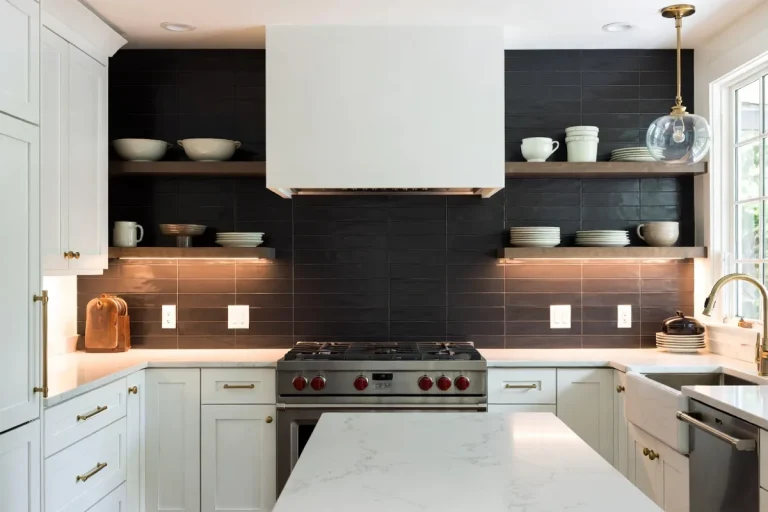
- Painted grout lines: Keep your tile color but refresh the grout using a grout paint pen in a contrasting color for a surprisingly dramatic update with minimal effort.
- Chalkboard backsplash: Apply chalkboard paint to your backsplash for a functional, playful surface where you can write grocery lists, recipes, or inspirational quotes.
[IMAGE_3]
Frequently Asked Questions
How long does a painted kitchen backsplash last?
With proper preparation, quality products, and a durable sealer, a painted kitchen backsplash can last 5 to 10 years or longer. The biggest factors in longevity are thorough cleaning and sanding before priming, using a bonding primer on tile, selecting a moisture-resistant paint, and applying a protective topcoat. Regular gentle cleaning (avoiding abrasive scrubbers) will also extend the life of your finish significantly.
Can you paint over kitchen tile without sanding?
Technically, some bonding primers claim to adhere to glossy surfaces without sanding — and in low-humidity, low-traffic areas they may hold up. However, for a kitchen backsplash that faces steam, grease, and regular wiping, skipping the sanding step is a gamble that often leads to peeling within months. Spending 30 minutes sanding is the best insurance you can buy for the longevity of your project.
What kind of paint is best for a kitchen backsplash?
The best paints for kitchen backsplashes are those specifically formulated for high-humidity, high-traffic environments — look for labels that say “kitchen and bath” or “moisture-resistant.” Choose a semi-gloss or satin sheen, as these finishes are easier to clean and more resistant to moisture than matte paints. Top-rated options include Benjamin Moore Aura Bath & Spa, Sherwin-Williams Emerald Interior, and Rust-Oleum specialty tile paints.
Do I need to seal a painted backsplash?
Yes — sealing is strongly recommended for any painted backsplash, especially in a kitchen. Even the most durable paint will benefit from a protective topcoat that repels water, resists grease, and makes the surface easier to wipe clean. A water-based polycrylic or polyurethane sealer applied in two to three coats will significantly extend the life of your painted backsplash and protect it from the humidity and splashes that kitchens produce daily.
Ready to Transform Your Kitchen?
A painted kitchen backsplash is one of the most budget-friendly, high-impact updates you can make to your home — and with the right approach, it’s a project that genuinely lasts. The secret isn’t in any one product or technique alone; it’s in the combination of thorough prep, proper priming, quality paint, and a durable sealer working together as a system.
Whether you’re refreshing dated tile with a single clean color, experimenting with a bold stencil pattern, or creating a faux tile look on plain drywall, these painted kitchen backsplash ideas prove that a little creativity and patience go a long way. Start small, follow the steps, and don’t rush the drying time — your kitchen will thank you for years to come.
Ready to get started? Browse more kitchen refresh ideas on Cozy Spruce and pin your favorite backsplash inspiration before you head to the hardware store. Your dream kitchen is closer than you think.