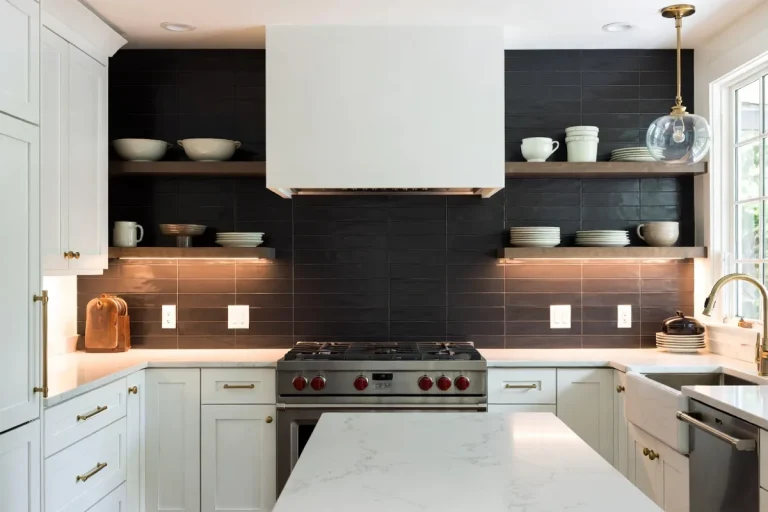
23 Cheap Kitchen Backsplash Ideas Under $200
A fresh backsplash can completely transform the feel of your kitchen — but you absolutely don’t need to spend thousands of dollars to make it happen. Whether you’re renting, flipping, or just working with a tight remodel budget, these cheap kitchen backsplash ideas will help you create a stunning focal point without breaking the bank.
Key Takeaways
- You can install a beautiful, durable kitchen backsplash for well under $200 using the right materials and approach.
- Peel-and-stick tiles, beadboard panels, and painted designs are the three most popular budget-friendly options.
- Many of these ideas are beginner-friendly and require no special tools or prior tile experience.
- Skill level and estimated cost are listed for each idea so you can plan realistically.
- Even renters can find removable solutions that won’t void a lease or damage walls.
Peel-and-Stick Tile Ideas
Peel-and-stick tiles have come a long way. Today’s versions convincingly mimic ceramic, marble, subway tile, and even mosaic patterns — and they’re genuinely one of the easiest DIY wins you’ll find in home decor. Here are some of the best options in this category:
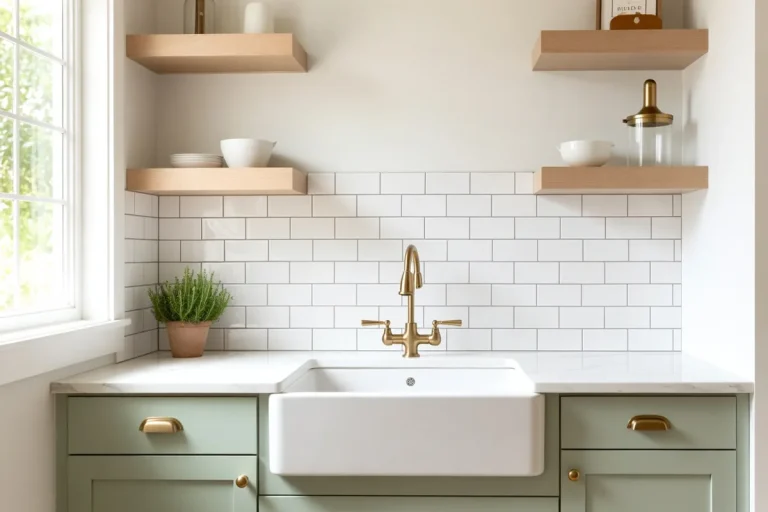
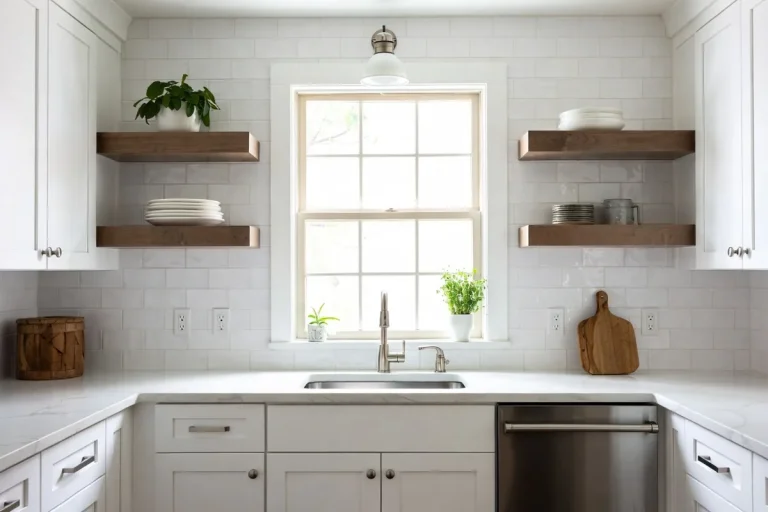
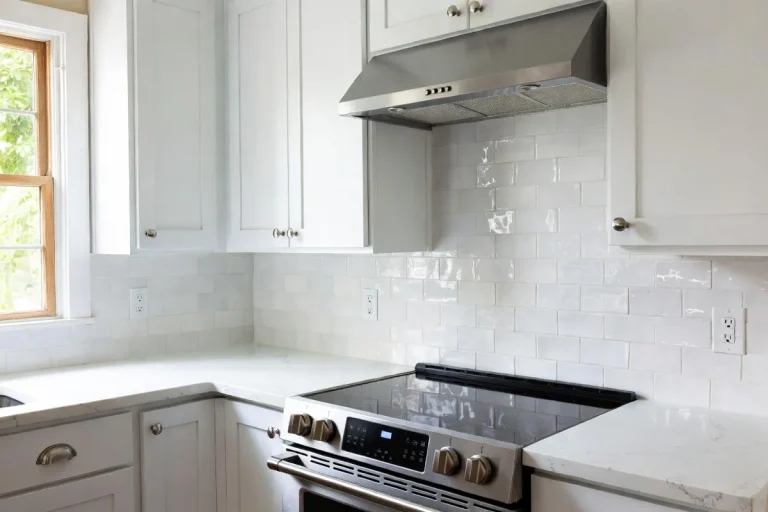
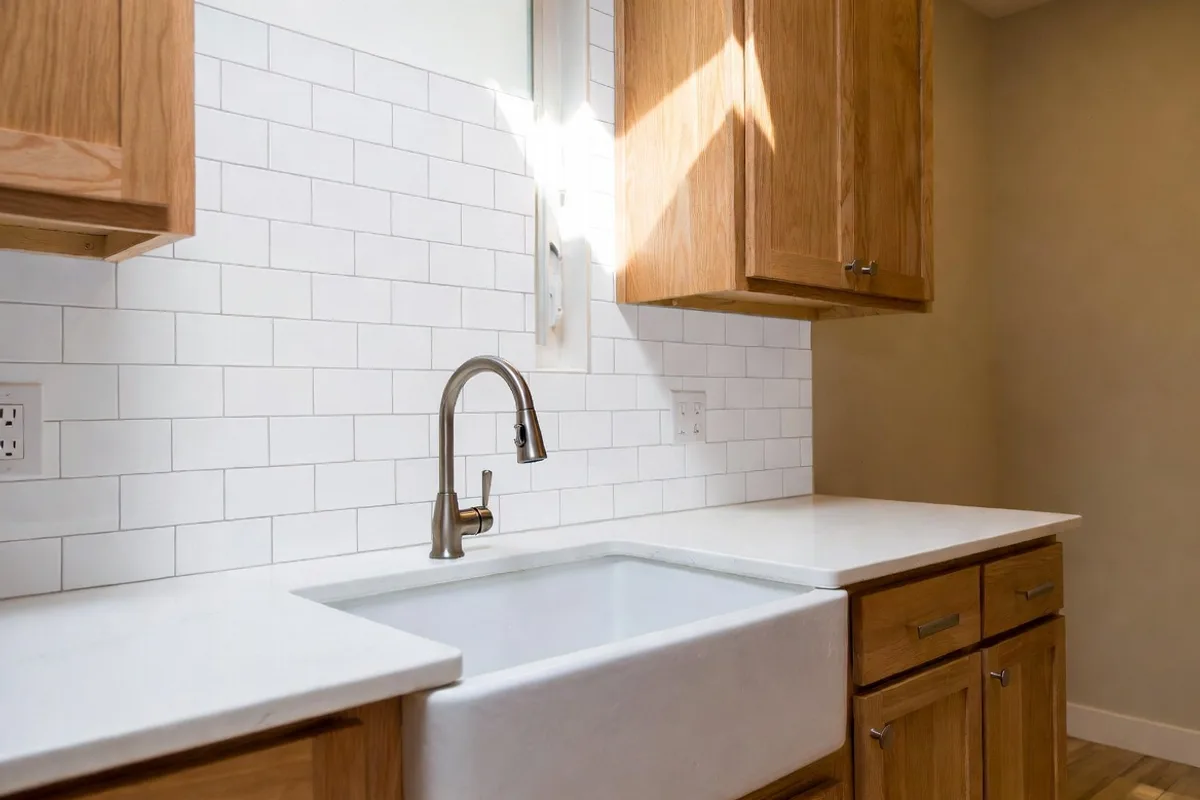
1. Classic White Subway Peel-and-Stick Tiles
Estimated Cost: $30–$60 | Skill Level: Beginner
These are the gold standard for budget backsplash transformations. A standard 30-square-foot area can be covered for well under $60 using peel-and-stick subway tile sheets. Clean, timeless, and takes about two hours to install.
2. Marble-Look Peel-and-Stick Mosaic
Estimated Cost: $50–$80 | Skill Level: Beginner
Faux marble mosaic sheets give your kitchen a high-end look at a fraction of the cost. Look for self-adhesive sheets that come in 12×12-inch panels for the easiest installation.
3. Hexagon Peel-and-Stick Tiles
Estimated Cost: $40–$70 | Skill Level: Beginner–Intermediate
Hexagon tiles add a modern, geometric edge to your kitchen. The honeycomb pattern is particularly striking in black and white, making it a great choice if you want visual drama without the price tag.
4. Moroccan-Pattern Peel-and-Stick Panels
Estimated Cost: $55–$90 | Skill Level: Beginner
Intricate Moroccan or arabesque patterns look custom and expensive but are available in easy-to-apply peel-and-stick versions. These work especially well in smaller kitchens where a statement wall feels intentional.
5. Wood-Look Peel-and-Stick Planks
Estimated Cost: $40–$75 | Skill Level: Beginner
For a warm, farmhouse-style aesthetic, wood-look peel-and-stick planks installed horizontally or in a herringbone pattern add instant coziness. Make sure to choose a water-resistant version designed specifically for kitchens.
6. Metallic Stainless Steel Peel-and-Stick Sheets
Estimated Cost: $35–$65 | Skill Level: Beginner
Thin stainless steel contact paper or aluminum-finish peel-and-stick sheets give an industrial, chef’s-kitchen feel. They’re also incredibly easy to wipe clean, making them very practical behind the stove.
7. Peel-and-Stick Brick Tiles
Estimated Cost: $45–$80 | Skill Level: Beginner
Thin brick veneer peel-and-stick tiles are one of the most convincing faux materials available. They add texture and warmth and look especially great in rustic or industrial kitchens.
Painted Backsplash Ideas
Paint is arguably the cheapest and most forgiving backsplash material on this list. With the right prep work and technique, a painted backsplash can look just as polished as tile — and it can last for years with proper sealing. If you want the full process, check out this guide on how to paint a kitchen backsplash that lasts for everything you need to know before picking up a brush.
8. Solid-Color Painted Backsplash
Estimated Cost: $15–$30 | Skill Level: Beginner
A bold, solid-colored backsplash painted with high-gloss or semi-gloss kitchen paint is one of the cheapest options on this entire list. Navy, sage green, terracotta, and deep charcoal are all trending right now and look incredibly intentional.
9. Stenciled Tile Effect
Estimated Cost: $25–$50 | Skill Level: Intermediate
Buy a tile or geometric stencil and use a small foam roller to create a repeating tile pattern. With a little patience, the result looks incredibly close to real hand-painted Portuguese tile. Seal with a water-based polyurethane when done.
10. Ombre Painted Backsplash
Estimated Cost: $20–$35 | Skill Level: Intermediate
A gradient or ombre effect using two shades of the same color (light to dark) creates a dreamy, artistic backdrop that’s completely unique. Use a damp sponge to blend where the colors meet while still wet.
11. Chalkboard Paint Backsplash
Estimated Cost: $15–$25 | Skill Level: Beginner
Chalkboard paint on the backsplash area is a fun, functional option — especially in a kitchen where you want to jot down grocery lists or recipes. It’s also incredibly easy to refresh whenever you want a change.
12. Two-Tone Painted Grid Pattern
Estimated Cost: $20–$40 | Skill Level: Intermediate
Using painter’s tape and two contrasting paint colors, you can create a clean grid or checkerboard pattern that mimics the look of real tile. Precision is key — take your time with the tape placement for crisp, professional-looking lines.
Beadboard Backsplash Options
Beadboard panels offer a charming, cottage-style look that suits farmhouse, coastal, and traditional kitchens beautifully. They’re available at most home improvement stores and are surprisingly easy to cut and install. According to This Old House, beadboard is one of the most versatile and timeless wall treatments available for budget renovations.
13. Classic White Beadboard Panels
Estimated Cost: $40–$80 | Skill Level: Beginner–Intermediate
Pre-primed MDF beadboard panels can be cut to size, glued to the wall with construction adhesive, and painted with a semi-gloss paint to make them moisture-resistant. The result is clean, classic, and utterly charming.
14. Painted-Color Beadboard Backsplash
Estimated Cost: $50–$90 | Skill Level: Beginner–Intermediate
Instead of the standard white, paint your beadboard a color — sage green, soft blue, or even a warm yellow. This instantly gives the kitchen a custom, designer feel while keeping costs minimal.
15. Beadboard Wallpaper (Renter-Friendly)
Estimated Cost: $30–$60 | Skill Level: Beginner
If you don’t want to attach panels to the wall, beadboard-look wallpaper is a removable, renter-friendly alternative. It still delivers that classic cottage texture without any commitment.
Creative & Unexpected Materials
Some of the most visually stunning cheap kitchen backsplash ideas come from thinking outside the tile aisle. These unexpected materials often result in truly one-of-a-kind kitchens — and they’re proof that a DIY kitchen remodel doesn’t have to follow the rules.
16. Reclaimed Wood Planks
Estimated Cost: $30–$80 | Skill Level: Intermediate
Sourced from salvage yards, pallets, or even leftover flooring, reclaimed wood planks sealed with polyurethane create an incredibly warm and character-filled backsplash. Best used away from direct heat and water.
17. Contact Paper Backsplash
Estimated Cost: $15–$35 | Skill Level: Beginner
High-quality contact paper comes in hundreds of patterns — tile, marble, geometric, floral, and more. It’s the absolute cheapest option on this list and surprisingly convincing when applied carefully and smoothly.
18. Tin Ceiling Tiles as Backsplash
Estimated Cost: $60–$130 | Skill Level: Intermediate
Decorative tin ceiling tiles (available online or at craft stores) can be painted and adhered to the backsplash area for a vintage, pressed-metal look. They’re lightweight, easy to cut with tin snips, and make a stunning statement.
19. Cork Tiles
Estimated Cost: $30–$60 | Skill Level: Beginner
Cork tiles give a warm, natural, and surprisingly chic look. They’re eco-friendly, easy to install, and can be sealed for moderate moisture resistance. Best used in dry areas of the kitchen away from the sink or stove.
20. Pegboard Backsplash
Estimated Cost: $25–$50 | Skill Level: Beginner
A painted pegboard backsplash is as functional as it is stylish. You can hang utensils, spice racks, and small shelves directly on it, turning dead wall space into serious kitchen storage.
Renter-Friendly Backsplash Ideas
If you’re renting, your options are more limited — but not by much. These removable solutions are completely damage-free and will have your security deposit sleeping soundly.
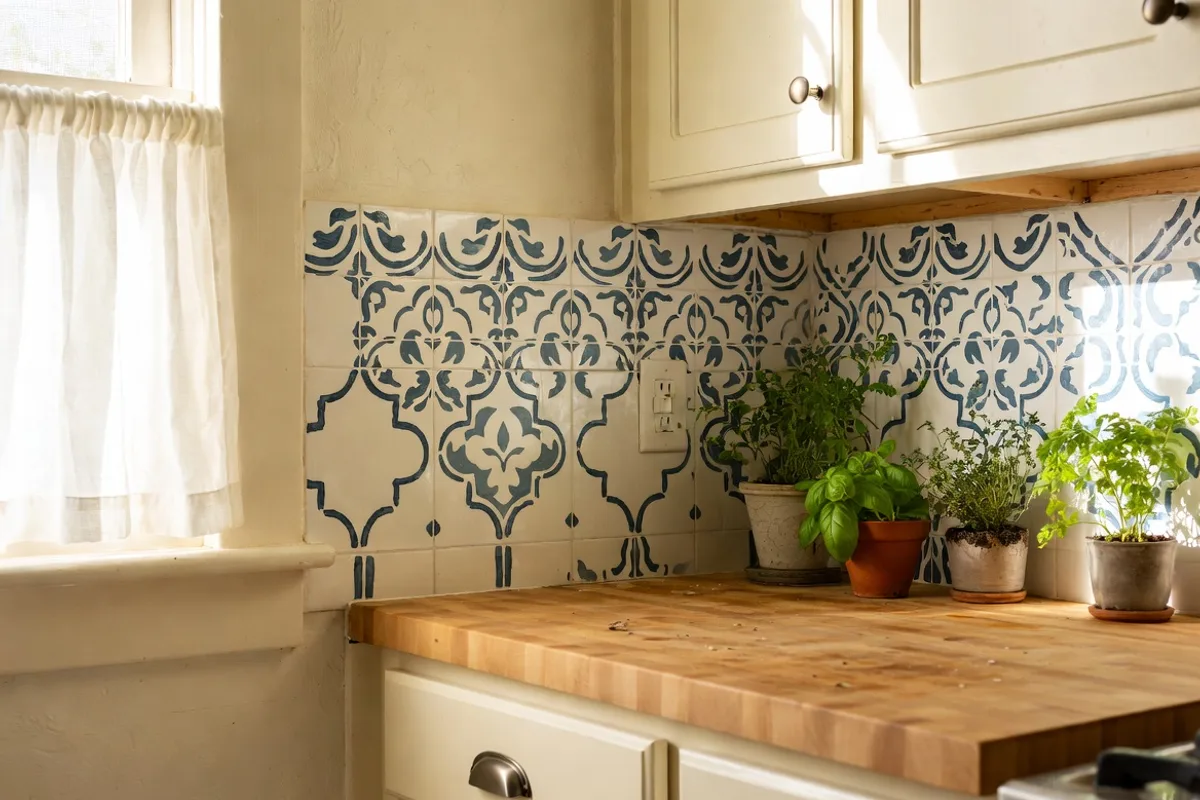
21. Removable Tile Decals
Estimated Cost: $20–$50 | Skill Level: Beginner
Individual tile decals can be applied directly over existing plain tiles or a painted wall. They peel off cleanly without residue and come in beautiful Mediterranean, Moroccan, and geometric patterns.
22. Command Strip Mounted Wood Slices or Panels
Estimated Cost: $35–$70 | Skill Level: Beginner
Thin decorative wood panels or slices mounted with heavy-duty command strips can create a beautiful natural accent behind the stove or counter. Completely removable and endlessly customizable.
23. Fabric or Washi Tape Backsplash
Estimated Cost: $10–$25 | Skill Level: Beginner
For the absolute lowest-budget option, wide decorative washi tape can be applied in geometric or stripe patterns to create a fun, colorful backsplash effect. It peels off easily and is a great option for renters who want to try out different looks.
Pro Tips for a Budget Backsplash That Lasts
No matter which option you choose, a few key practices will make the difference between a backsplash that looks great for years and one that starts peeling or fading in months.
- Clean and degrease the wall first. Any oil, dust, or grease will prevent adhesion. Use a degreasing cleaner and let the wall dry completely before applying anything.
- Measure twice, cut once. Always calculate your square footage before purchasing materials. Add 10–15% for waste and mistakes.
- Seal everything near moisture. Painted or wood backsplashes especially need a waterproof topcoat to hold up near the sink and stove.
- Use proper trim pieces. A neat edge finish makes any budget backsplash look far more professional. Quarter-round molding or tile edge trim costs very little but makes a huge difference.
- Consider the full picture. Your backsplash doesn’t exist in isolation — it should complement your cabinets, countertops, and flooring. If you’re thinking about a larger kitchen refresh, it’s worth reading about kitchen renovations designers recommend to see how small changes add up to big impact.
Also, if you’re considering going the traditional tile route at some point in the future, understanding how to install a subway tile backsplash step by step will give you a solid foundation — even if you start with a budget option today.
Frequently Asked Questions
What is the cheapest backsplash option for a kitchen?
The absolute cheapest option is washi tape or contact paper, which can cost as little as $10–$25 for a small backsplash area. For something more durable, solid-color paint with a semi-gloss finish is the next most affordable option, typically costing $15–$30 in materials.
Can I install a backsplash myself with no experience?
Absolutely. Most peel-and-stick tile options, contact paper, and painted backsplashes require zero prior experience and minimal tools. Beadboard panels require a bit more confidence with cutting and measuring, but are still very manageable for a first-time DIYer.
Are peel-and-stick tiles durable enough for a kitchen?
Quality peel-and-stick tiles are designed to handle kitchen conditions, including moderate heat and moisture. They work best away from direct open flame. To extend their lifespan, apply them to a clean, properly primed surface and avoid excessive scrubbing with abrasive cleaners.
How do I make a cheap backsplash look expensive?
Attention to detail is everything. Use trim pieces to create clean edges, take time to align patterns carefully, and always seal your work where appropriate. Choosing a sophisticated color palette — like soft marble, matte black, or warm sage — also goes a long way in elevating a budget material’s appearance.
Conclusion
There’s no reason your kitchen backsplash has to cost a fortune to look beautiful, stylish, and completely intentional. From $10 washi tape to $130 tin ceiling tiles, the 23 cheap kitchen backsplash ideas in this guide cover every budget, skill level, and design style imaginable. The best part? Most of these projects can be completed in a single weekend — sometimes even a single afternoon. Pick the one that excites you most, grab your materials, and get started. Your kitchen transformation is closer (and more affordable) than you think. If you need a little more inspiration before you dive in, explore the kitchen features buyers want most — because a great backsplash isn’t just good for your daily enjoyment, it’s good for your home’s value too.